Why integrate with Mailchimp?
Knack is not designed for handling group or bulk emails well. Successful group emails require additional features like unsubscribe links, spam prevention, and delivery maximization to ensure proper delivery. Integrating Knack with a service like Mailchimp is a great way to leverage your Knack emails.
Import Knack Records Directly to a Mailchimp Mailing List
This solution allows you to export your records and import them directly to a Mailchimp Mailing List. You can use Knack Fields as merge fields in your email newsletters.
Export Your Knack Records
Mailchimp requires your records to be in CSV or TXT format.
You can follow this guide to learn how to export your records properly: How to export your records. Any fields included in your export will be mappable to a Mailchimp Mailing List column.
Select a Mailchimp Mailing List
Select your Mailchimp mailing list by clicking on the settings dropdown on the right and selecting the Import setting.

Select Your CSV File
Select the option to Import for a CSV or TXT file. For this example, we will use a CSV import.

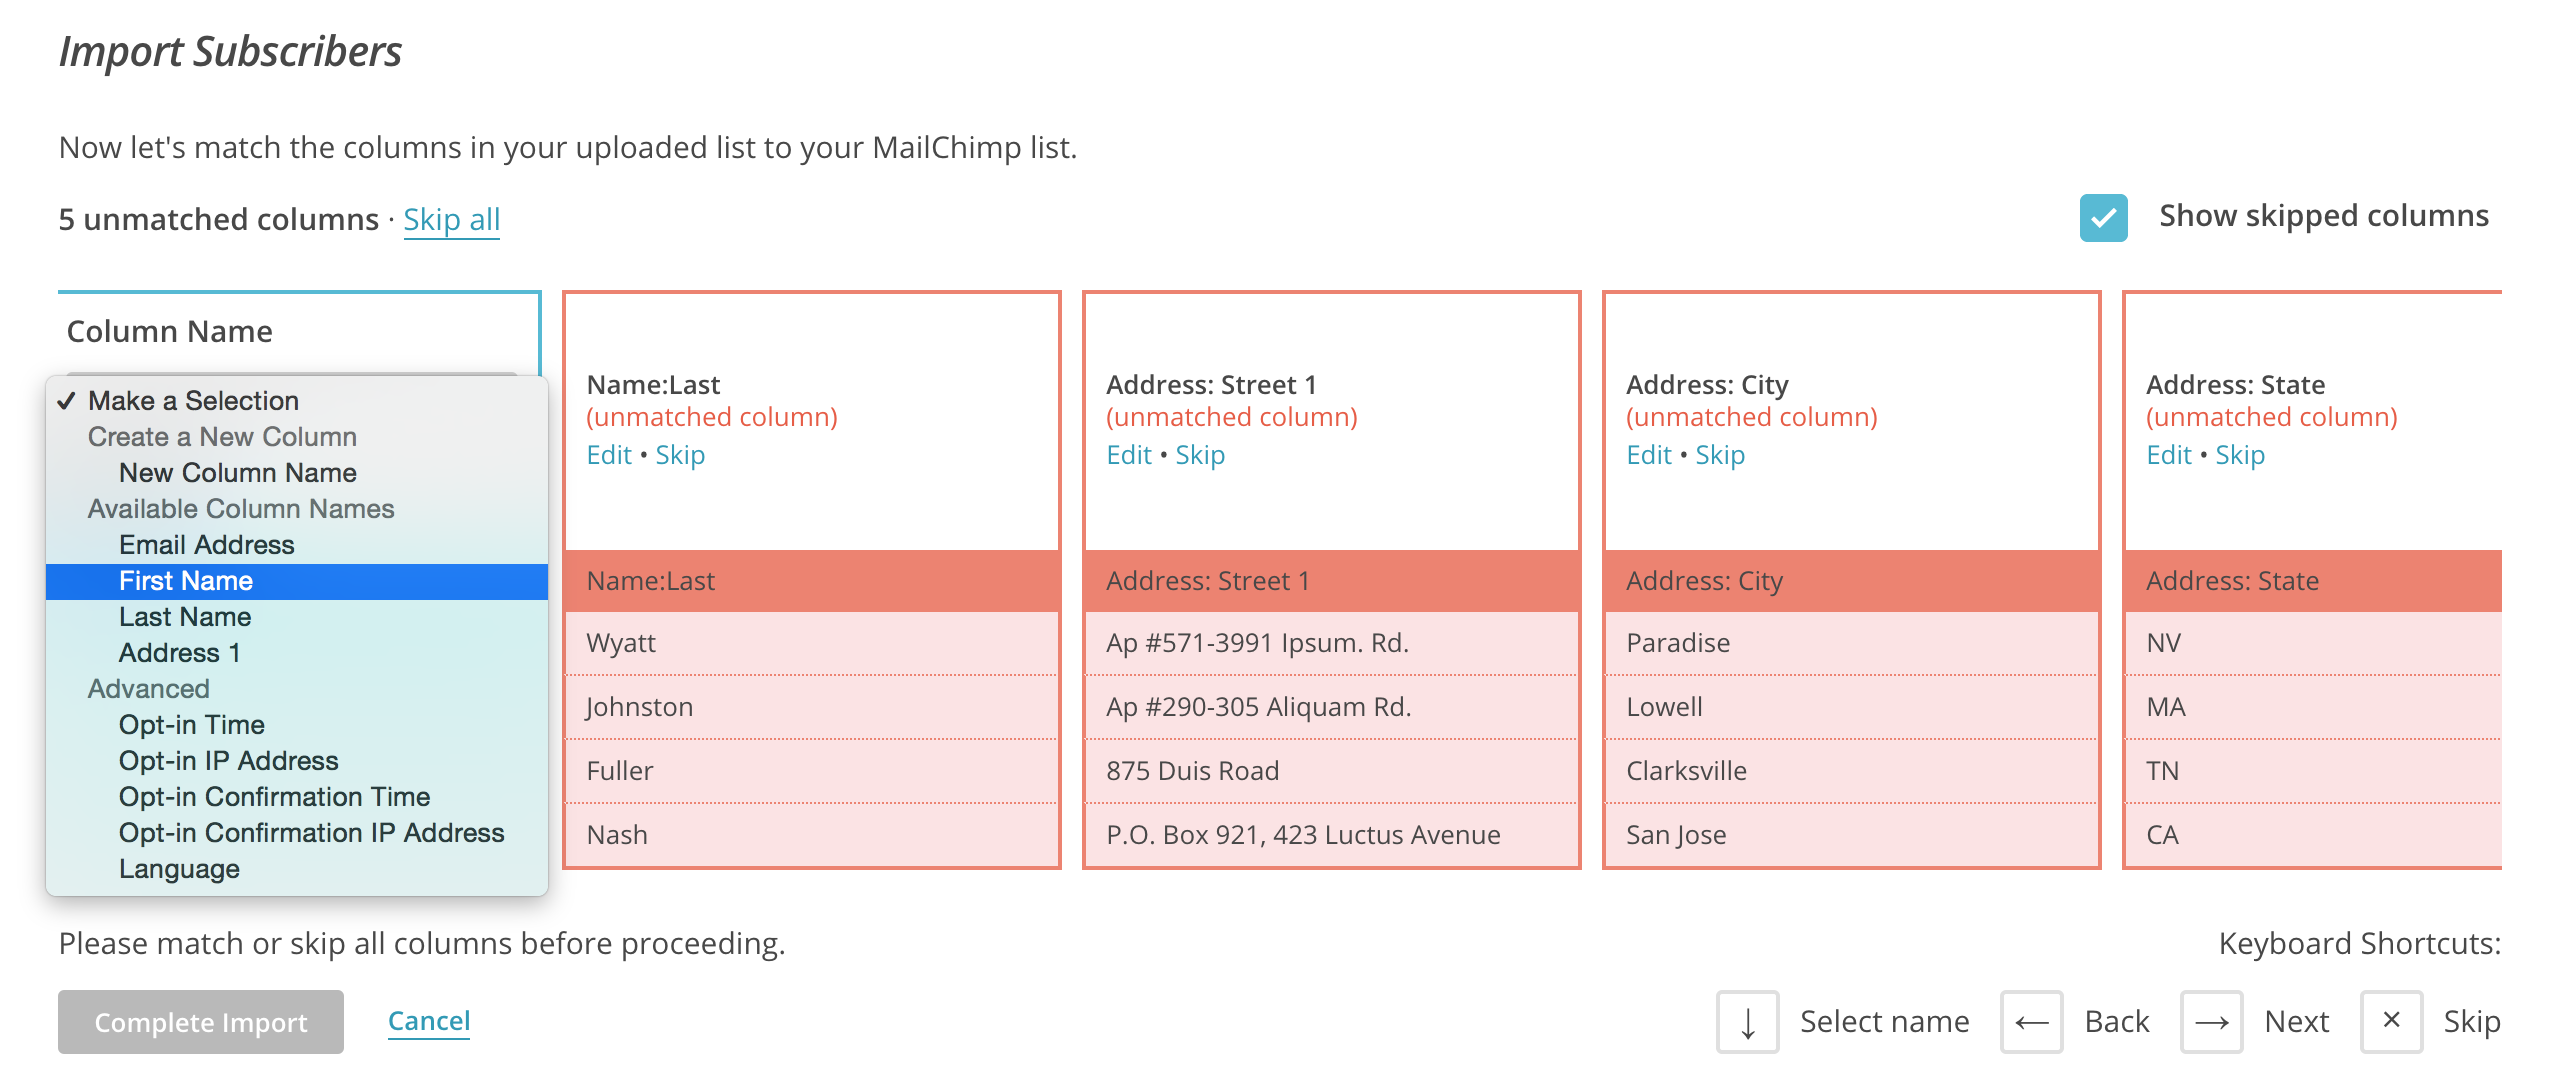
Match Your Columns
Match your Knack fields to a List column. You can use the values in your records as merge fields in your campaign emails.
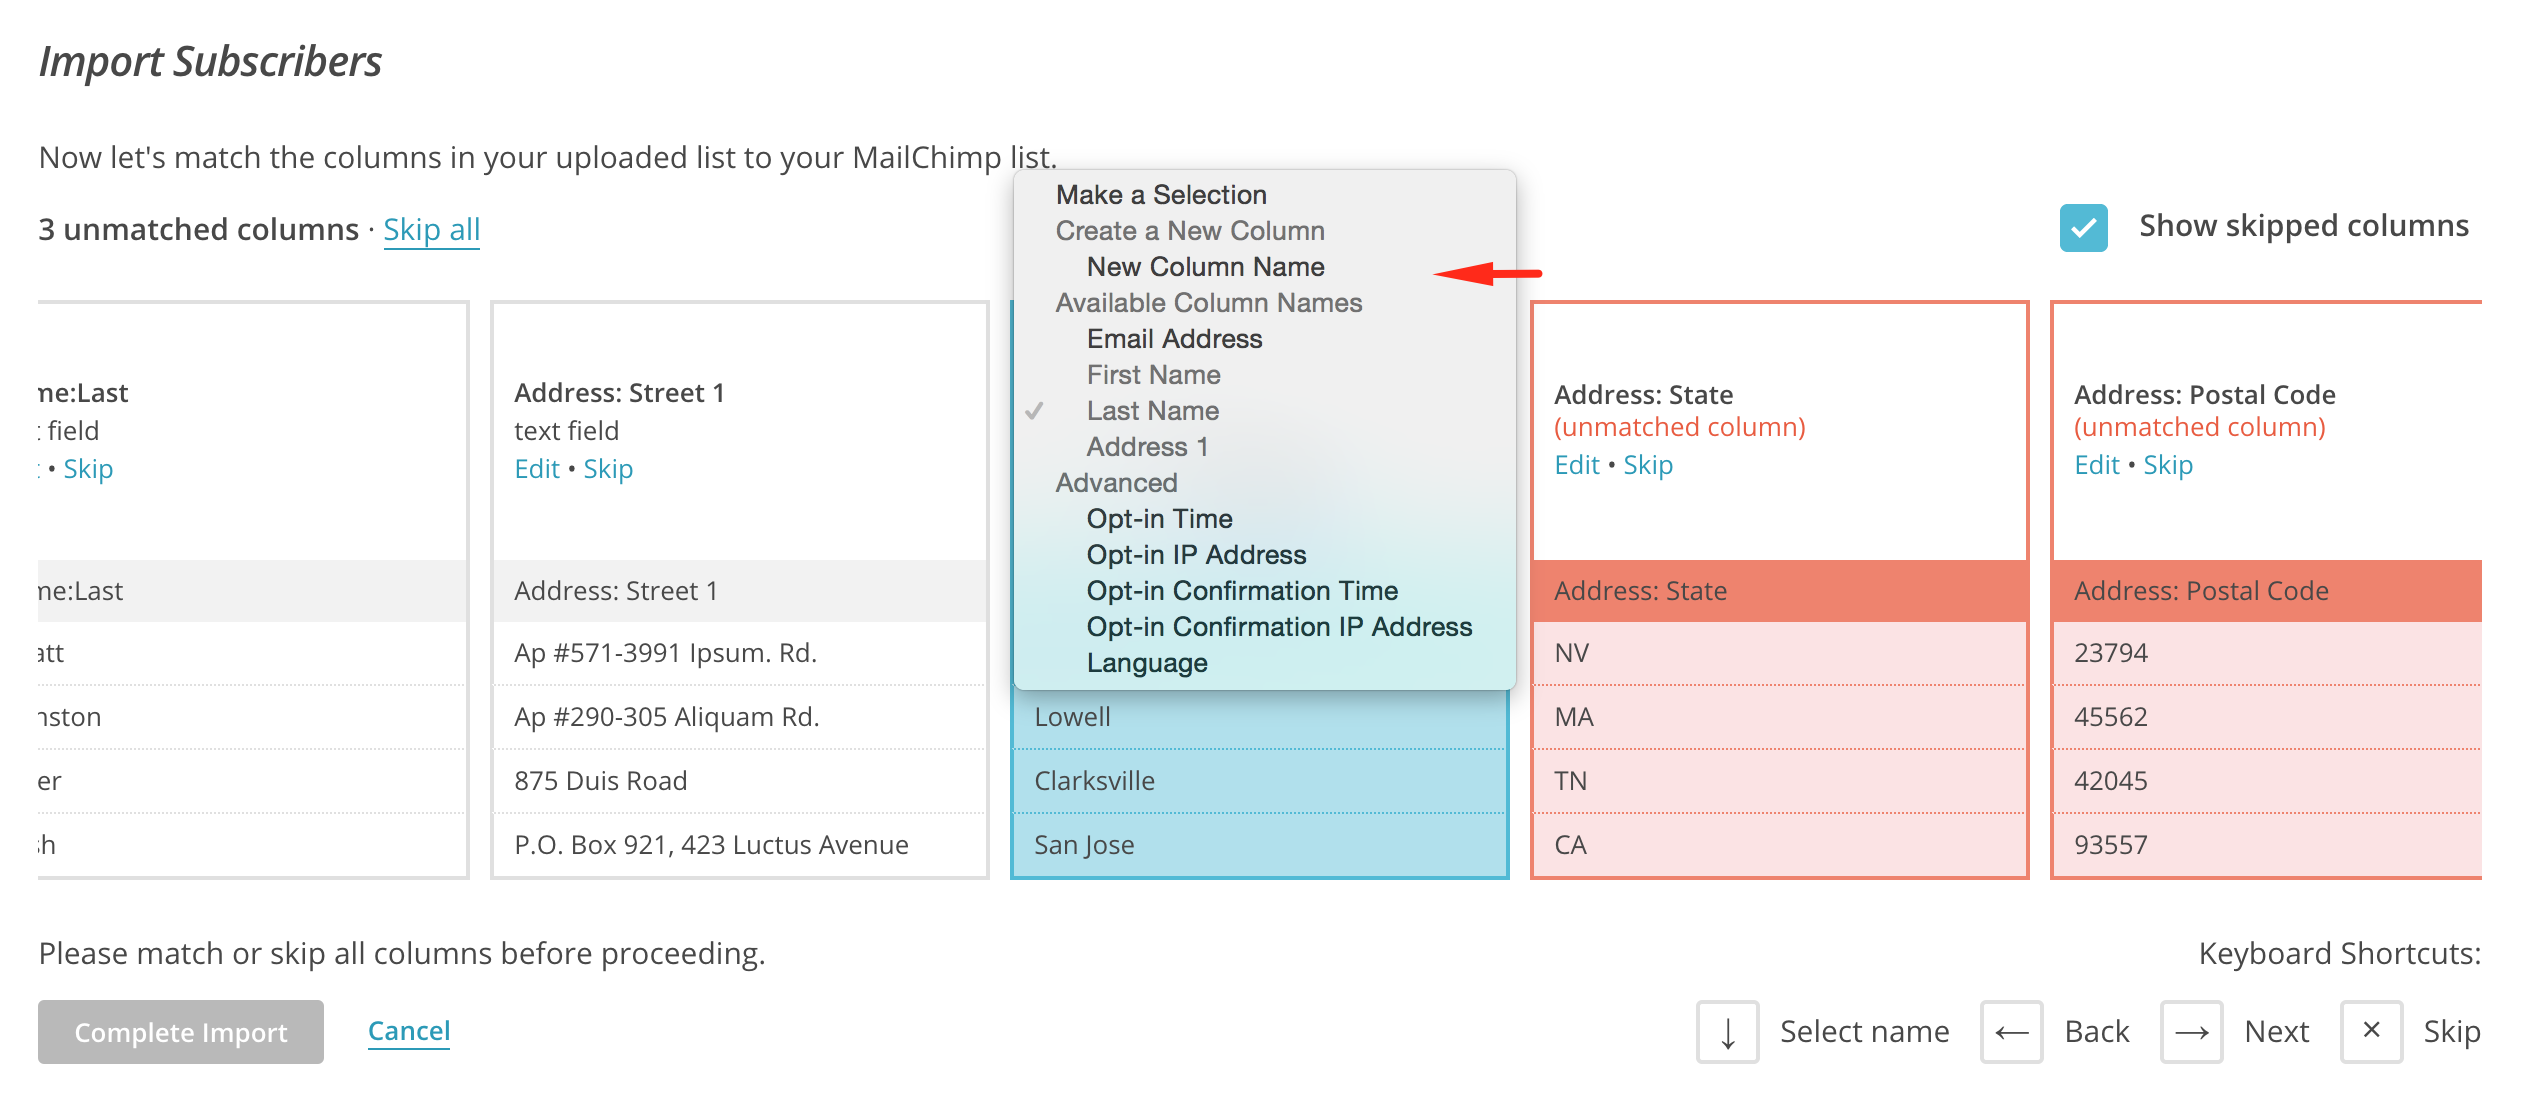
Create New Columns
If the Knack field doesn't exist as a Column yet, you can add a new one:
Complete your import
If you don't want to use the Knack field, you can Skip the field. Once you've mapped all your fields, you can select Complete Import.

Integrate With Zapier
What if you want to automate the process even further and have your Subscribers added as soon as you add them to Knack? We can use a Zapier recipe to make this process seamless without adding a single line of code.
Choose a Trigger App and Trigger
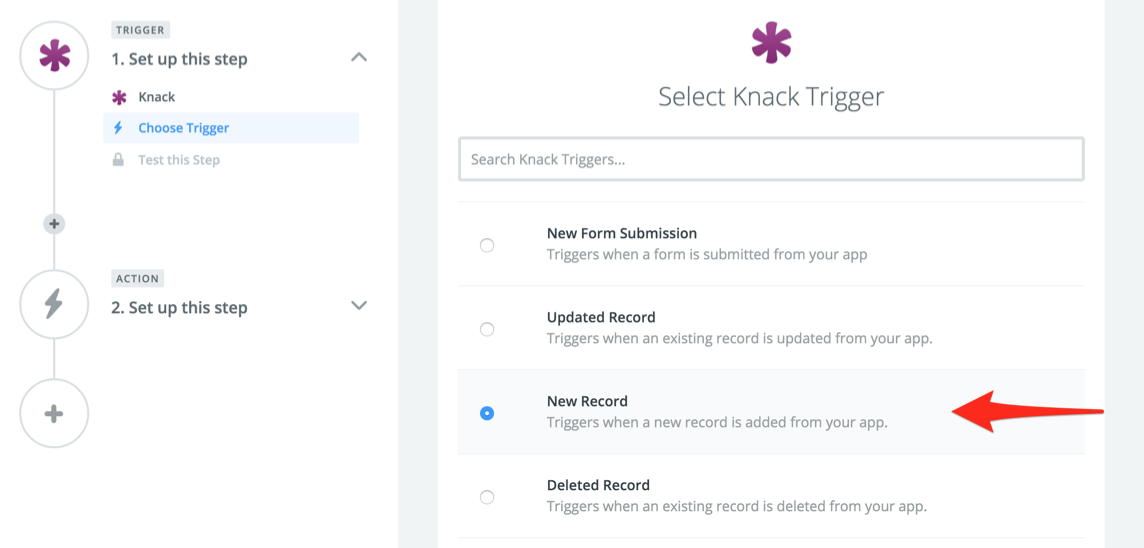
Start by selecting the Knack app.
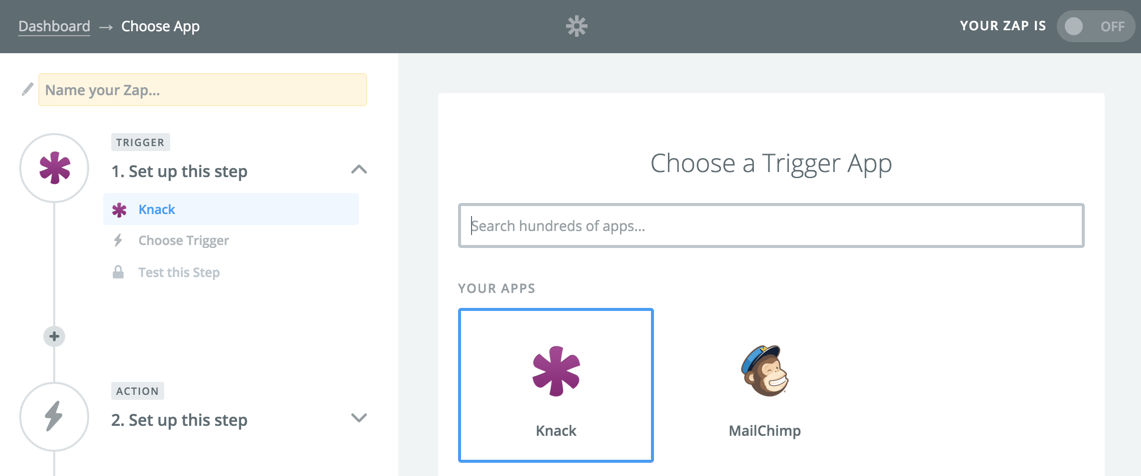
Then, select New Record from the list of Triggers.
Select Your Knack Account or Connect It
Select your Knack account. If you haven't already added your Knack account, you'll be given the option to do so by logging in with your Knack credentials. Select the Test button to confirm the account is working properly.

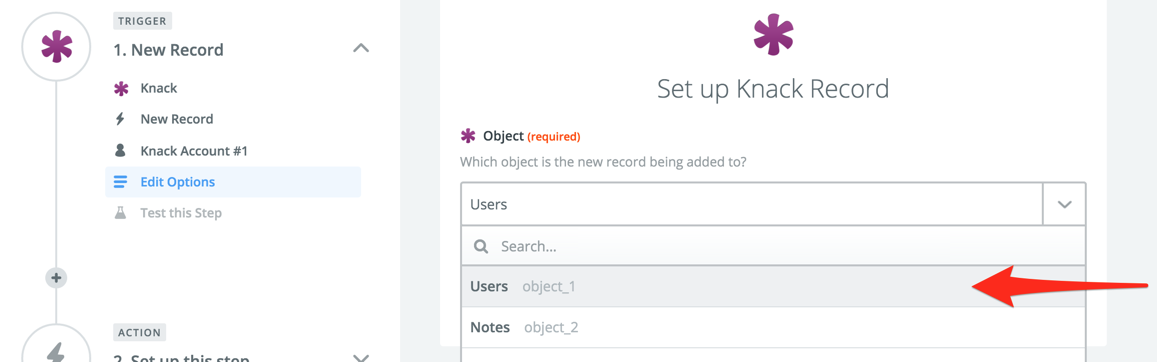
Select a Knack Table
Zapier will list all of your App's tables. Select the Table you wish to use. In this example, we are using the table "Users."
Note: The trigger will run for any form views for the "Users" table. This does not trigger Record Rules, Tasks, Imports, etc.
Test Your Trigger
Select the Fetch & Continue button to confirm that the trigger is working properly.

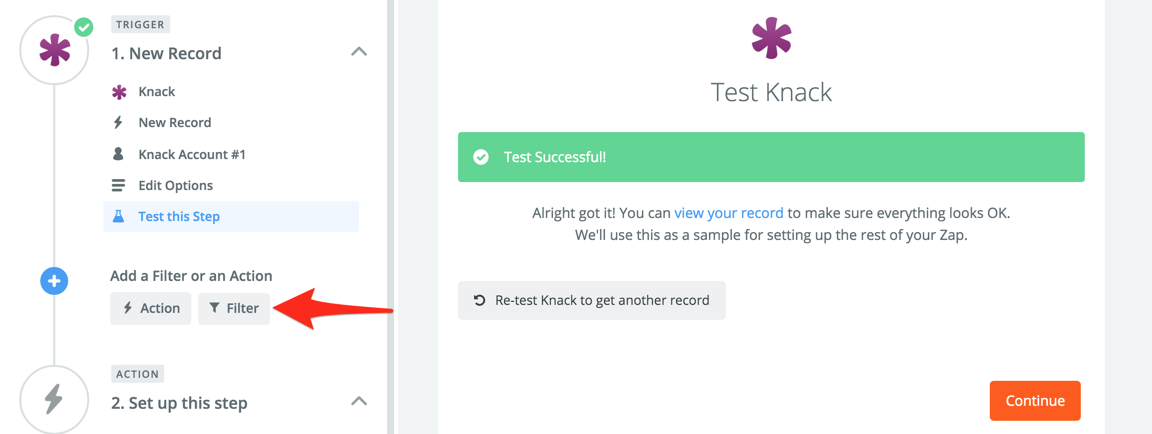
Add Filters
Before moving on to create your Action, you can add multiple filters to the trigger to only allow specific records to trigger the action. You can do this by clicking on the plus sign in the left-hand menu and selecting the Filter option.
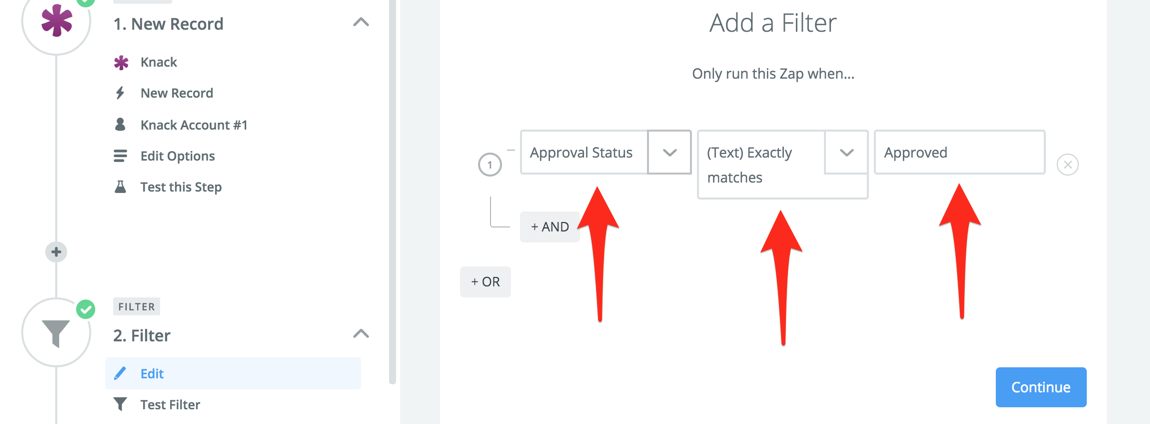
For example, you may only want "Approved" contacts to be added to our list. You can choose your field, a condition, and a value.
Choose an Action App and Action
Now, you'll start setting up your Action by selecting the Mailchimp app.
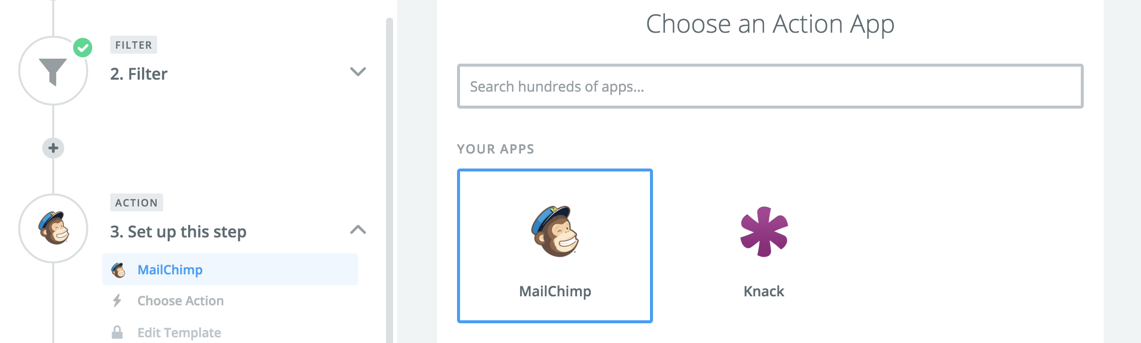
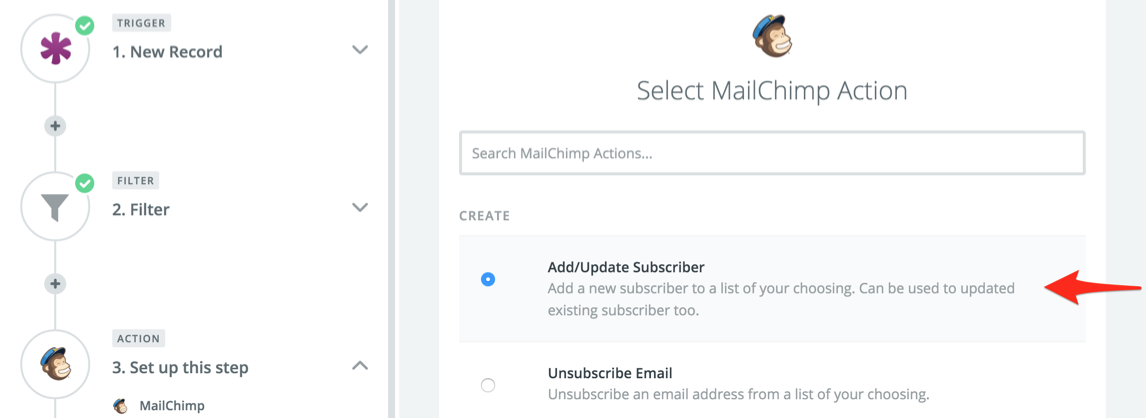
Select Add/Update Subscriber from the list of Actions.
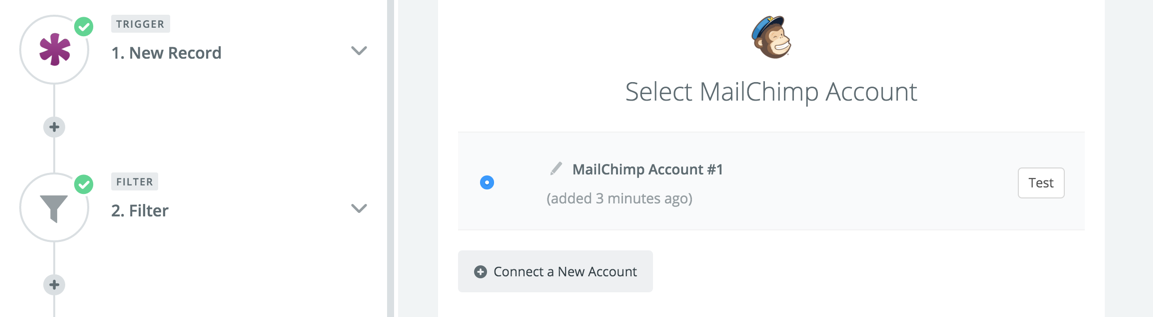
Select Your Mailchimp Account or Connect It
Select your Mailchimp account. If you haven't already added your Mailchimp account, you'll be given the option to do so by logging in with your Mailchimp credentials. Select the Test button to confirm that the account is working properly.
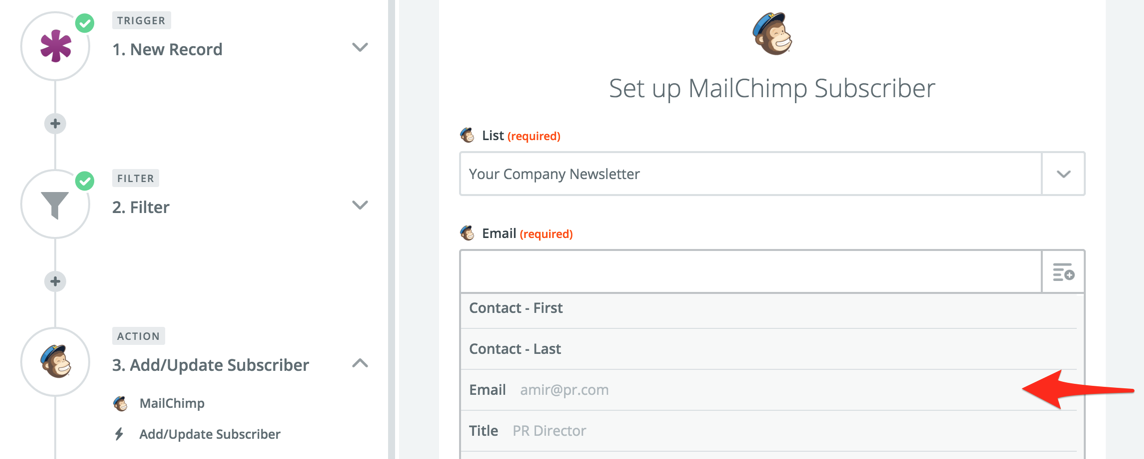
Match Your Fields
Choose an existing mailing List and then match a Knack field to the Email field. You can also match additional optional fields and include them in your Mailchimp template.
What happens if the Contact you're adding already exists in your Mailchimp list?! Thankfully, Zapier has an option to Update Existing subscribers. This comes in handy when you want to simply update the other optional values to send an up-to-date email.

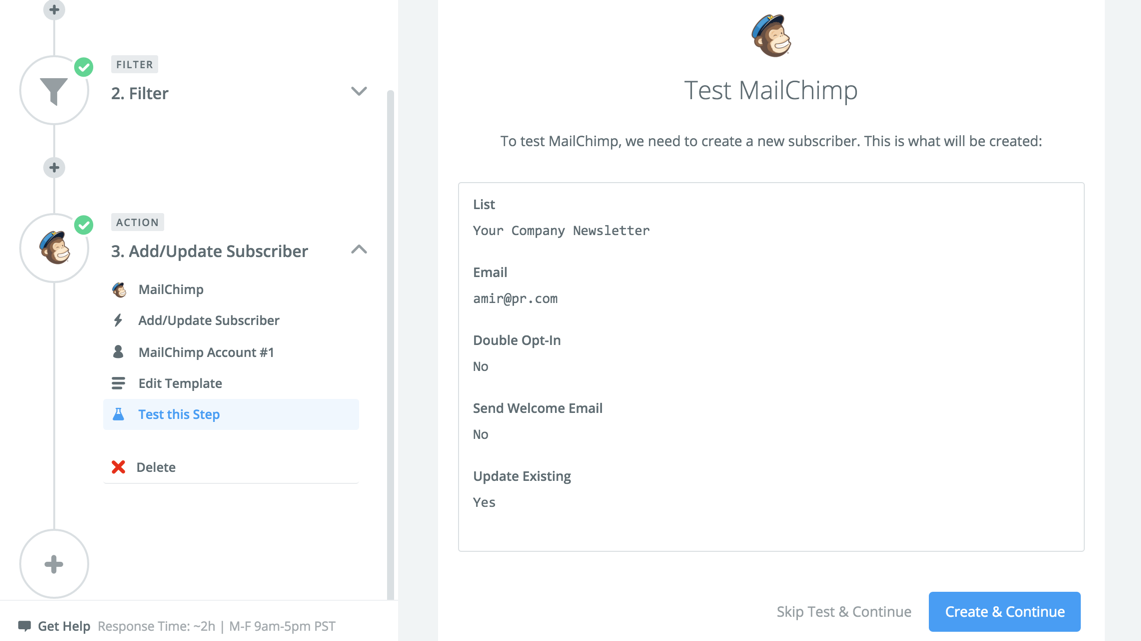
Test Your Action
Select the Create & Continue button to confirm that the Action is working properly. Once successful, click on the Finish button.
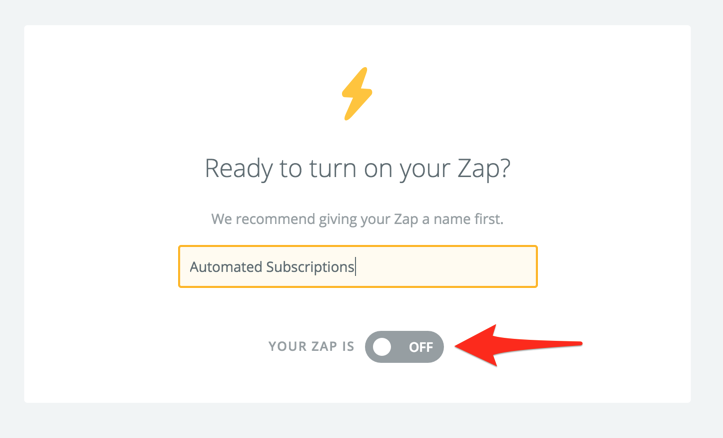
Name Your Zap and Turn It On
Now, it's time to name this baby and turn it on!