This article contains the following sections:
Overview
To begin accepting payments, it is essential to establish an account with one of our reputable payment processors. When a user provides their credit card information through these processors, the transaction is processed, and the funds are securely deposited into your account.
Note: It's important to note that Knack prioritizes your security by not storing any credit card information.
Supported Processors
Knack currently supports the following two processors:
Stripe (Recommended)
We highly recommend using Stripe as your payment processor because it provides a seamless experience for your users. With Stripe, your customers can complete the entire payment process directly within Knack, and you can even implement features that allow them to conveniently store their card information for future payments.
Additionally, you have the option to synchronize your customers between Knack and Stripe by securely storing their payment method. For more information on this feature, please refer to the About Payment Method Views article.
Tip: To sign up for a Stripe account, please see their registration form here: Create Your Stripe Account
Notes:
- At the moment, Stripe only supports credit cards as a payment method.
- To ensure the utmost security, we utilize the Stripe.js v2 library to securely transmit card data directly from our front end. This means that we never store or have access to any credit card information on our servers.
PayPal Express Checkout
Another option for payment processing is PayPal. With PayPal, your app users can conveniently use their own PayPal account to make a payment.
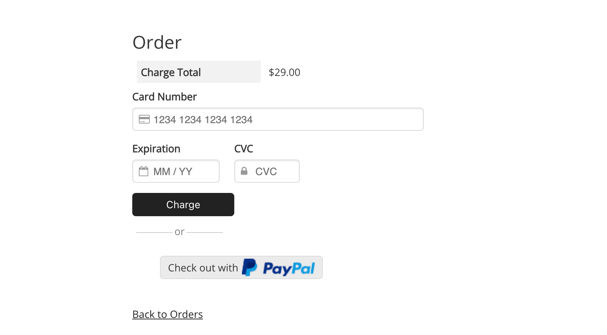
If your user selects PayPal as their payment method, they will be directed to a new PayPal page where they can complete the transaction. Afterward, they will be redirected back to the Completion Page in the Live App.
Users will have the option to choose between using a credit card or their PayPal funds to make the payment on the PayPal page.
Tip: To sign up for a PayPal account, please see their sign up page here: Sign Up for PayPal
Note: You have the flexibility to use any payment method that you have linked to your PayPal account.
Managing Payment Processors
Adding Payment Processors
Payment processors can be added in the E-Commerce section of your App Settings:
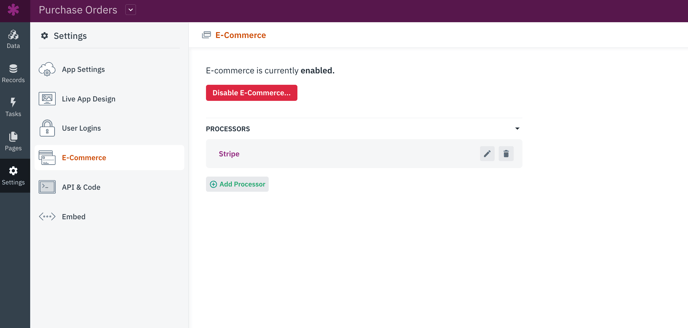
You have the option to add multiple processors of the same type, such as having two different Stripe accounts. To add a new processor, simply click on the "Add Processor" button and select the type of processor you want to add.
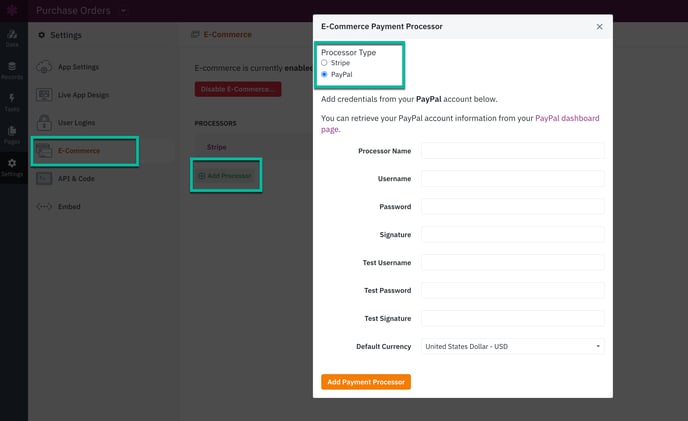
Depending on the Processor selected, you’ll need to enter the following credentials:
Stripe Credentials
The following credentials are required. You can retrieve all of these from your Stripe API Keys page.
- Test Secret Key
- Test Publishable Key
- Live Secret Key
- Live Publishable Key
- Default Currency
Tip: To get your Stripe Live & Test Credentials, follow these steps here.
PayPal Credentials
For PayPal, the following credentials are required:
- Username
- Password
- Signature
- Test Username
- Test Password
- Test Signature
- Default Currency
Note: You can retrieve these from the Account Settings page on your PayPal business account.
You can find the full instructions to get your Paypal API credentials here.
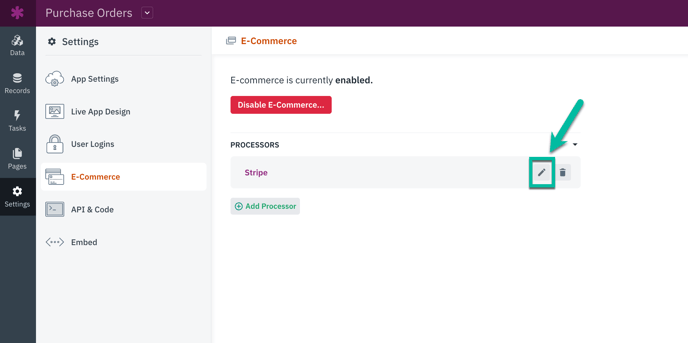
Editing Payment Processors
After adding a payment processor, you have the flexibility to edit it whenever needed. Simply click on the edit icon next to the processor name to make any necessary changes.
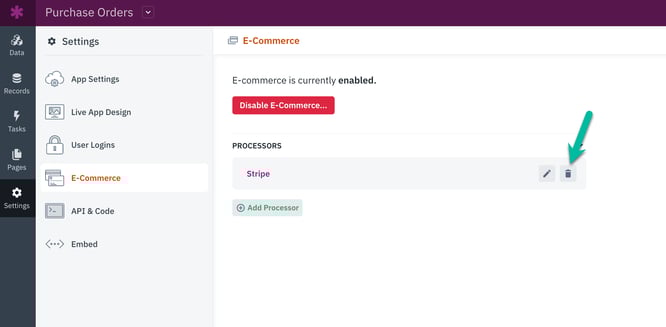
Deleting Payment Processors
If you decide to delete a payment processor from your app’s E-Commerce Settings, please keep in mind that if that processor is currently being used in a Payment View, you will need to assign a new Payment Processor before you can use the view again.
To delete a specific processor, simply click on the delete icon:
Using Payment Processors in Your Apps
Once you have successfully added a payment processor, you have the flexibility to use it in any Payment view. You can easily manage the payment processor for an existing payment view anytime from the Settings tab.

When both processor types are enabled, users are given the ability to choose their preferred processor at the time of payment.