To ensure a smooth and efficient form-filling experience, it is important to clearly define the required information and provide an easy-to-use input system. Failure to do so may result in incomplete information or users spending more time completing the forms.
That is where layouts and groups can be incredibly useful! Take, for instance, our multi-step application with a Licenses & Education section like the image displays below. Instead of making users scroll through all the questions, we can streamline the process and make it much more efficient.
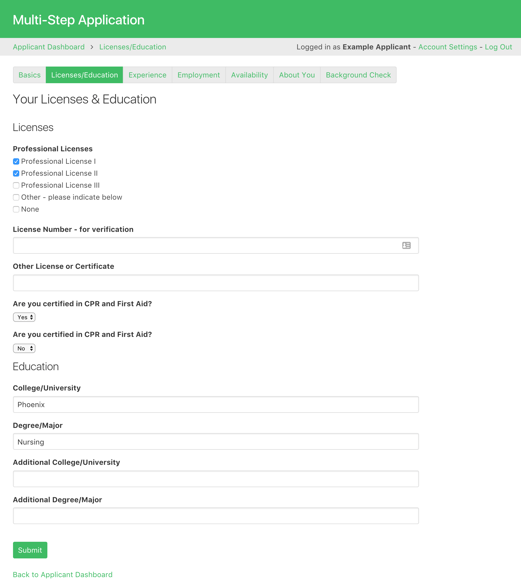
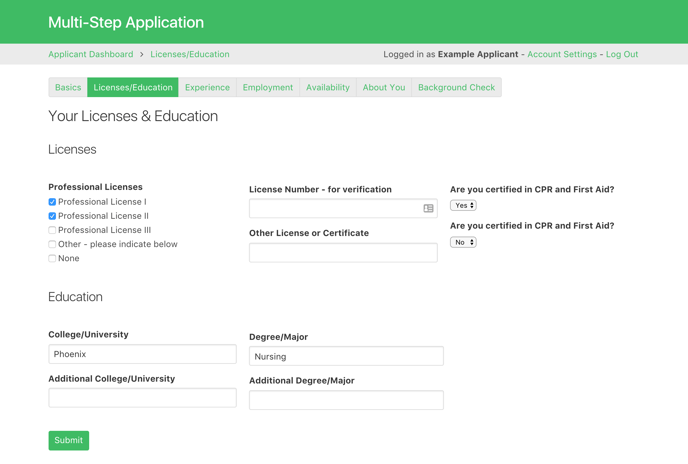
We have the option to utilize various layouts with columns to enhance the organization of the form and reduce the need for excessive scrolling. For example, we can implement a layout similar to the one shown below:
Requirements
If this your first time creating an app, you'll need to know some basics about adding tables, fields, pages, and views. You can start by reading our Builder Basics section.
Other good resources can be found in our About Your Database and Working With Pages sections of the knowledge base.
Steps
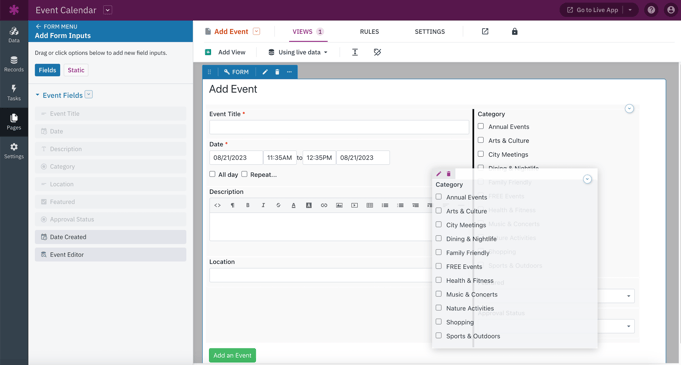
Select the Page with the Form
In the Pages section of the Builder, select the page with the form view you want to customize.
Open the Form Editor
To begin customizing the form, simply click on the form view on the desired page to open the editor, and navigate to the Inputs section.
Using Form Layouts & Columns
Form views provide the flexibility to organize input fields into up to three columns. You can easily add multiple fields within each column by simply hovering over the input fields in the form preview and dragging and dropping them into the desired spot on the form.
The best part is that this feature is readily available and doesn't require any additional enabling.