Use Case
You may have users who need to fill out a form on your app, and it would be beneficial to have certain fields already filled in for them.
For instance, if you are sharing the link to a job application form on your website, you may want the Job, Job Location, and Referral Source fields to already be filled in for all applicants.
For this walkthrough, we will be utilizing the Job Listings sample app.
Requirements
-
An existing add record form that you want to have pre-populated field inputs. In this example, it’s the “Add Application” form.
-
This feature does not work to modify values on an edit record form.
-
-
The fields that you want to pre-populate must be included in the form view. Fields that do not exist in the form view can't be pre-populated for security reasons.
Steps
1. Identify the Page URL and View Key
Navigate to the Live App and locate the page that contains the form you wish to pre-populate. Take note of the URL for that specific page.
In this example, we will be referring to the job application page.
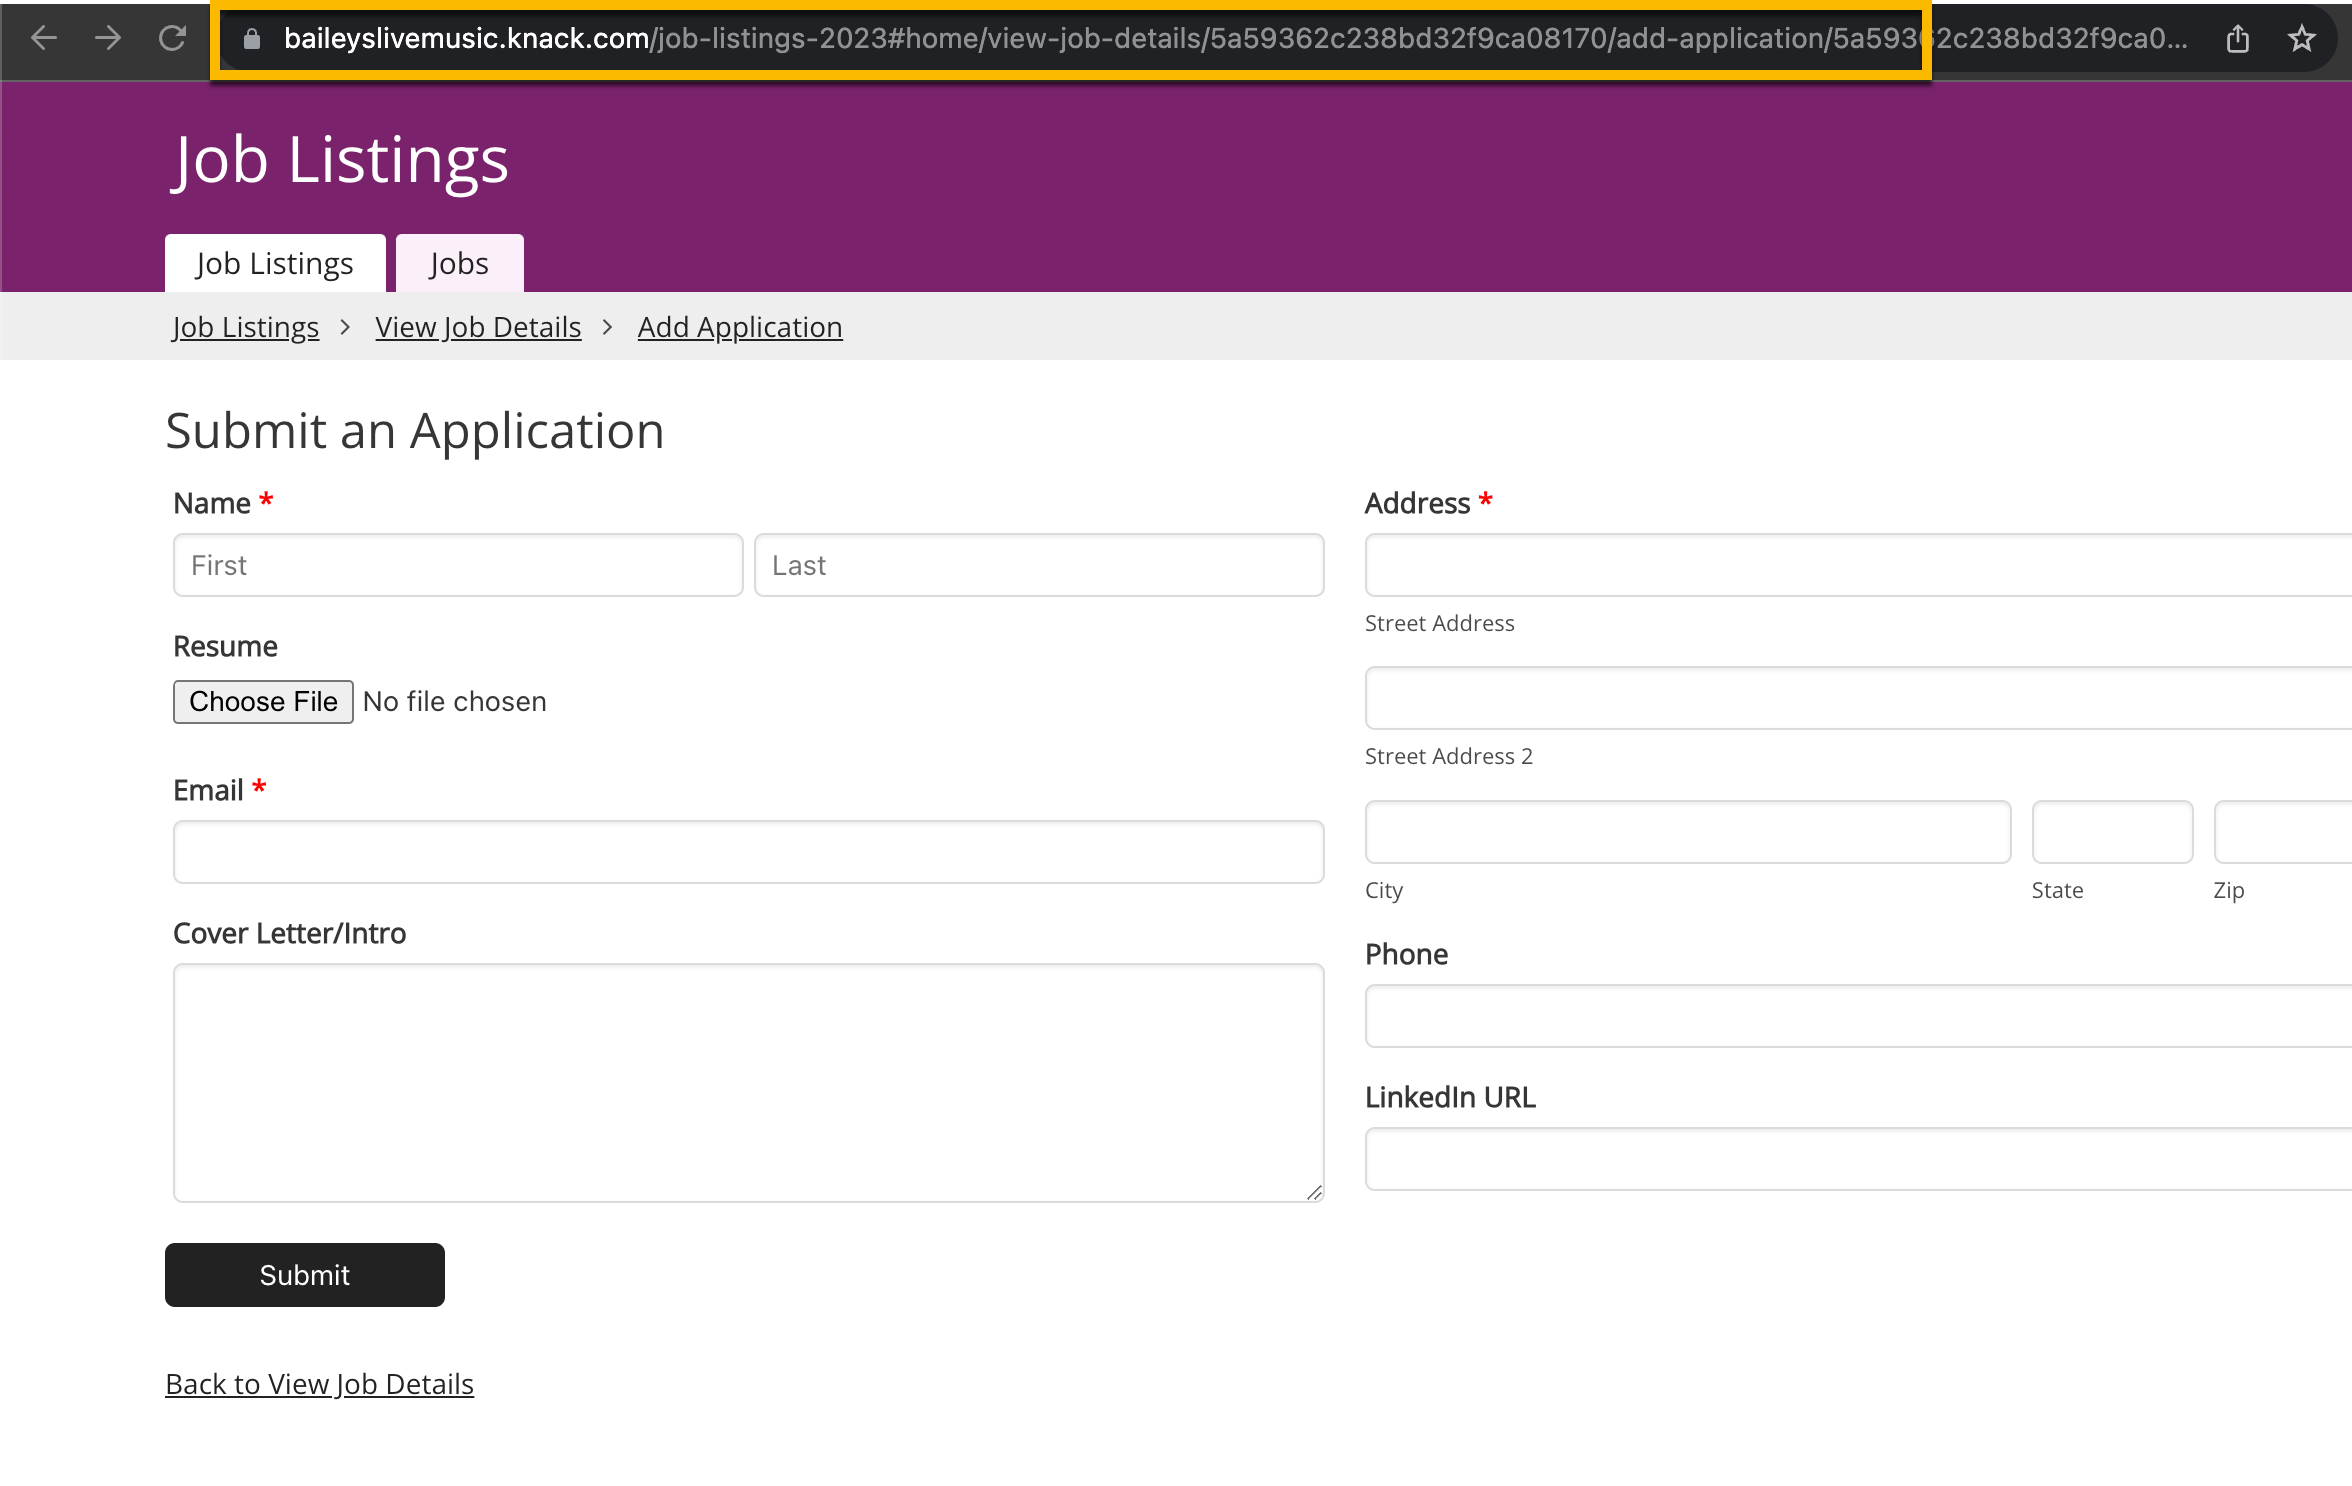
In the Pages section of the Builder, head to the page with the form view that you would like to pre-populate field inputs with. Click on the form view preview and make a note of it's view key from the URL.
In this example, the "Submit an Application" form's view key is "view_68":
/How%20to%20Use%20URL%20Variables%20to%20Pre-Populate%20a%20Form/pre-populate2.png?hsLang=en)
2. Select Your Fields & Identify Their Keys
Next, we'll decide which fields we want to pre-populate and what value we want each field to have. In this example, we want to pre-populate the Job field with the value of "Software Engineer".
To gather the key for the Job field, we'll head to the Data section of the Builder. Next, we'll select the Table the field exists in and ensure we're in the Fields section.
From there, we will select the field key button located to the right of the filter fields input:
/How%20to%20Use%20URL%20Variables%20to%20Pre-Populate%20a%20Form/pre-populate3.png?hsLang=en)
For this example, our field key is "field_28".
Connection Field Values
When setting a value for a connection field, the process is slightly different compared to non-connection fields. You will need to identify the specific connected value you want to use for that connection field by its record ID.
To set the value of the Job connection field as "Lead Engineer" for this example, we can find its record ID by accessing the browser inspector. On Windows, use Ctrl + Shift + I, and on Mac, use Cmd + Opt + I.
Upon inspecting the browser, we discovered that the record ID for the Software Engineer record is 5a59362c238bd32f9ca0816c. Therefore, we will utilize this value for the Job connection field in the subsequent step.
You can also find a record's ID by opening the record editor in the Builder and viewing the value that follows "record/":
/How%20to%20Use%20URL%20Variables%20to%20Pre-Populate%20a%20Form/pre-populate4.png?hsLang=en)
3. Format Your Fields & Values
Format your field keys and values using the following JSON syntax:
{"field_1":"Value A","field_2":"Value B","field_3":"Value C"}
Note: If you want to populate a connection field, the format will be slightly different. Instead, the record ID you identify will be formatted with square brackets:
{"field_1":["Value A"]}
For this example, our formatted field and value is:
{"field_28":["5a59362c238bd32f9ca0816c"]}
Note: Special field types, such as Name and Address, require additional formatting. For example, a Name field can include a Title, First Name, Middle Name, and Last Name.
Those fields would be formatted like this:
{"title":"Mr.","first":"Brandon","middle":"R","last":"Griggs"}
To see the format for all special fields, click here. For example, a multiple-choice field would be:
{"field_70":["First Choice"]}
4. Encoding the Fields & Values
Take the formatted fields and values from the previous step and encode them using a tool like this URL Encoder. By encoding the fields and values, you are ensuring that the links can be shared and used while retaining the correct values.
You will get an output that looks like this:
%E2%80%8B%7B%22field_28%22%3A%5B%225a59362c238bd32f9ca0816c%22%5D%7D
For this example, we will need to remove the zero-width space character "%E2%80%8B%" at the beginning of the output in order for the value to appear in the field input.
5. Creating the URL
Now that we have all the pieces, we can put our URL together using the following:
Page URL+?[view_key]_vars=+encoded fields/values
Note: Be sure to replace [view_key] with the view key we identified in step one.
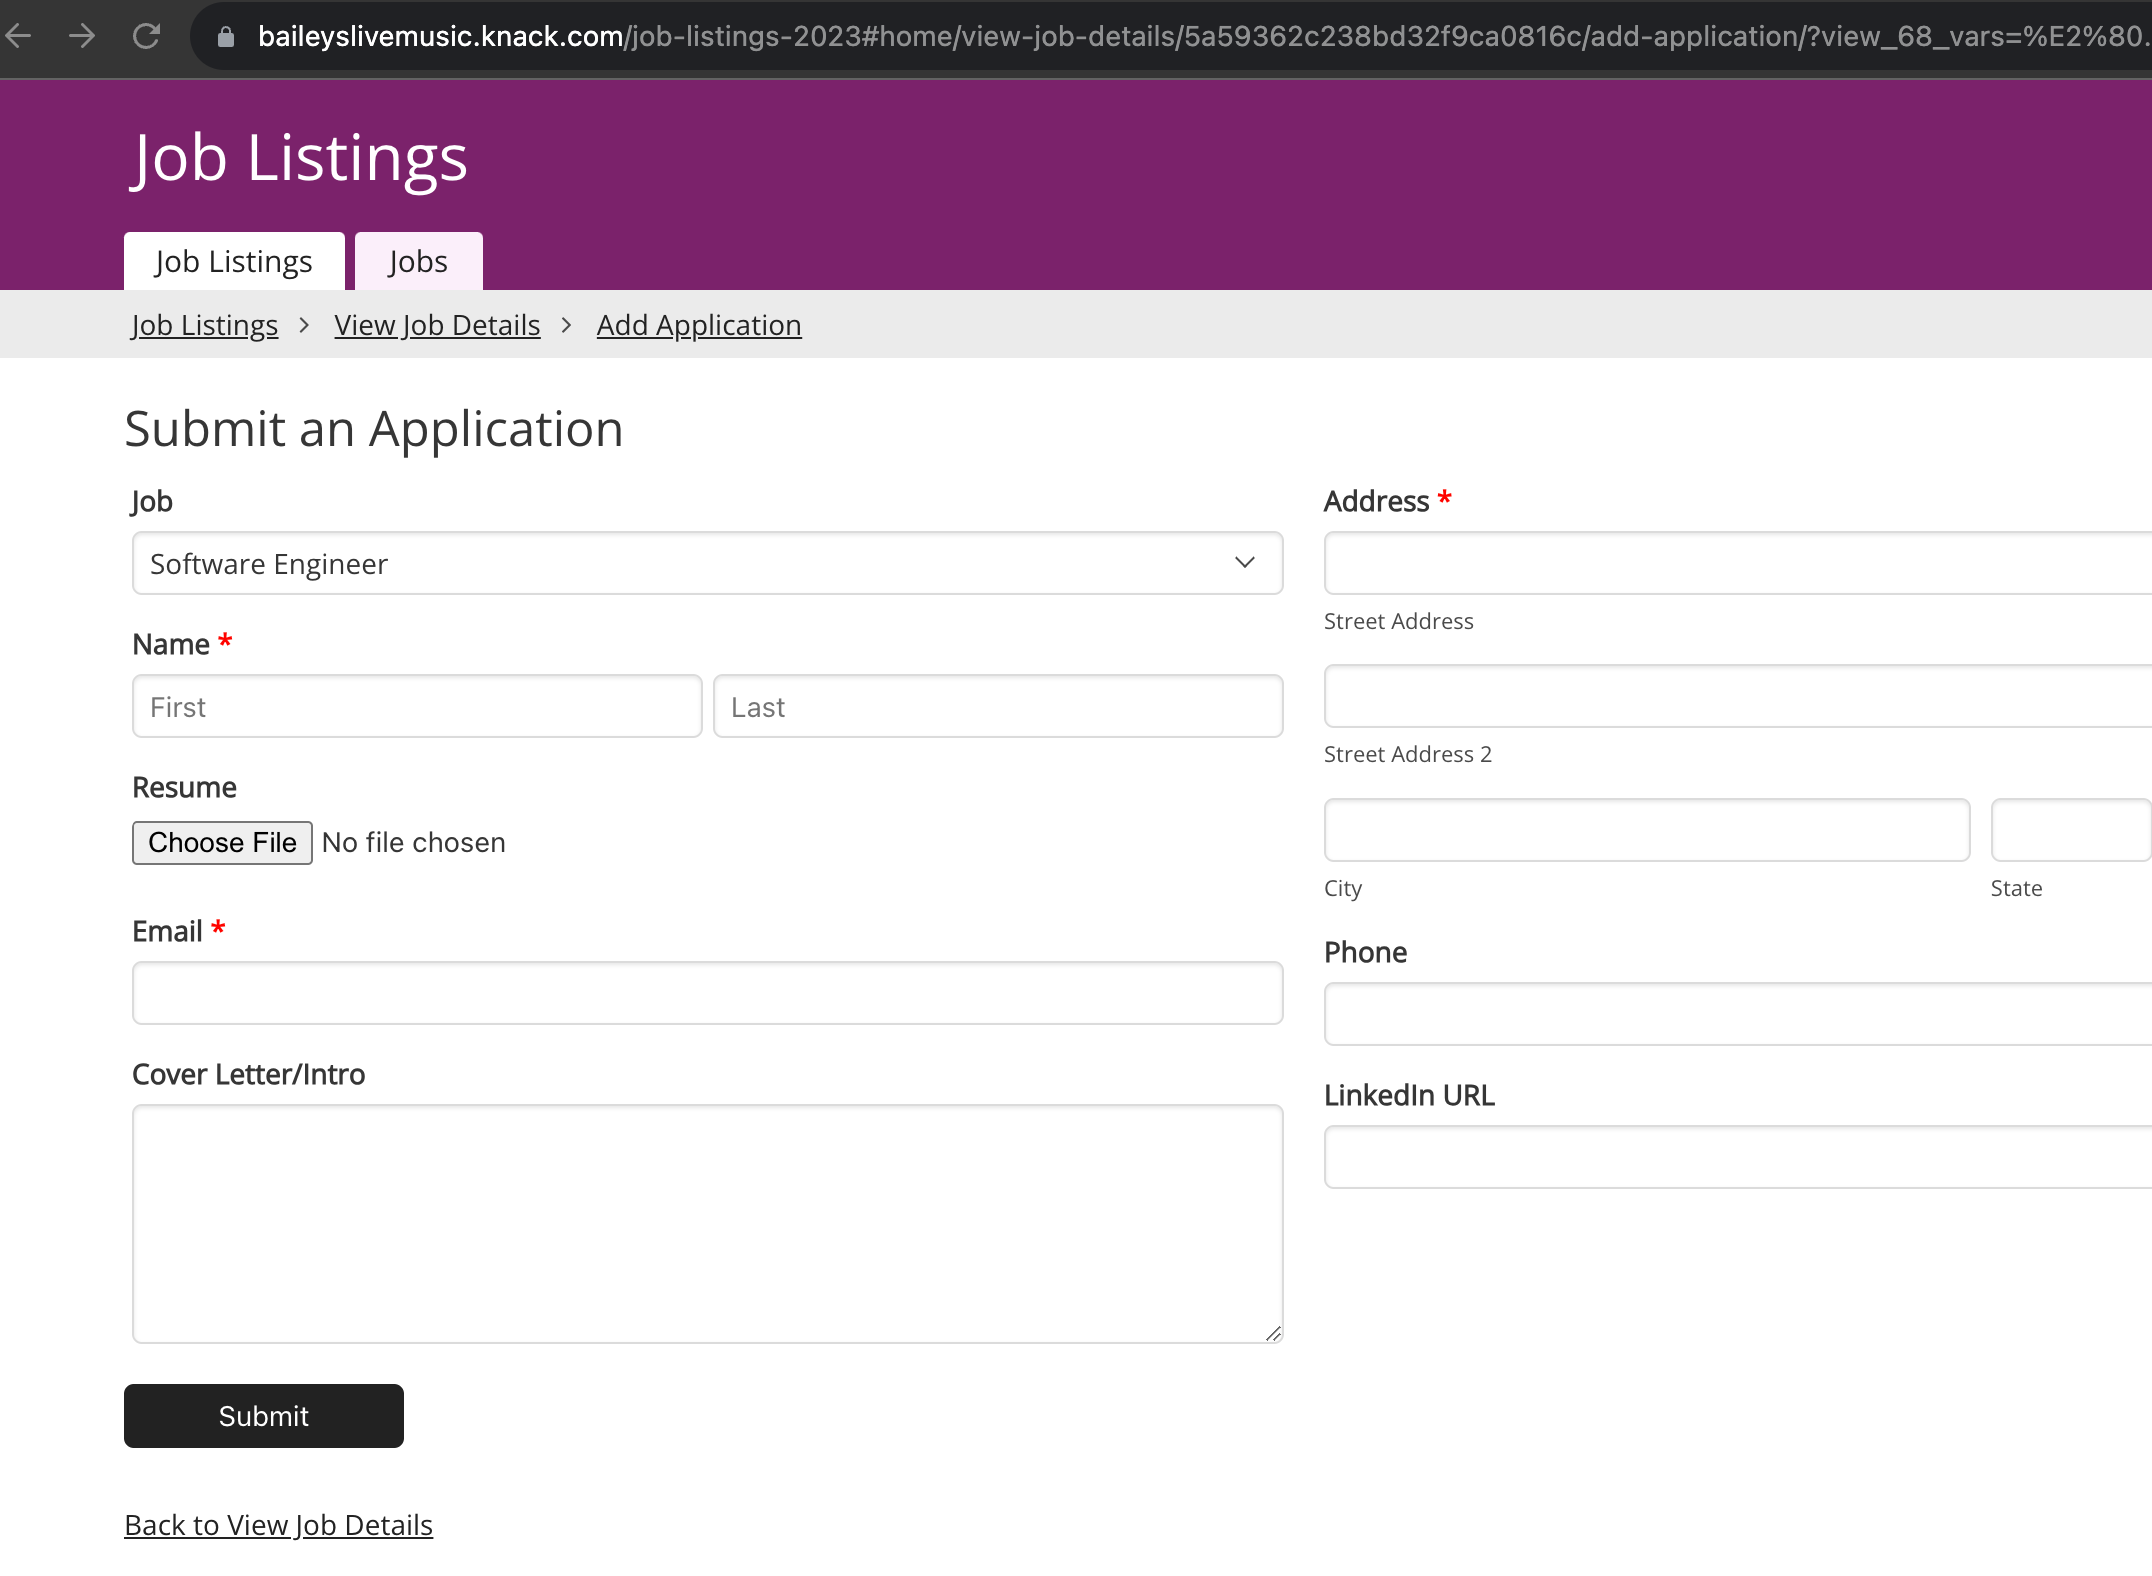
For this example, our completed URL looks like this:
https://baileyslivemusic.knack.com/job-listings-2023#home/view-job-details/5a59362c238bd32f9ca0816c/add-application/?view_68_vars=%7B%22field_28%22%3A%5B%225a59362c238bd32f9ca0816c%22%5D%7D
This is an example of how the pre-populated field will appear on the form: