Use Case
Your application stores records with specific date/time information. To ensure users stay informed about upcoming events, you can make use of a message feature within the Live App.
Example:
A project management application showcases a comprehensive list of upcoming milestones. The application will proactively notify employees with a timely message when a deadline is approaching.
Requirements
In order to create the message, you will need to utilize Page Rules and have a table with a Date/Time field. The Page Rules will enable you to display a warning message based on the specific Date/Time value.
Steps
1. Select the Page That Will Show the Message
In the Pages section of the Builder, select the page that contains your project deadline where you want to display a message.
Tip: If you need to create a new page, you can read more on creating and managing pages here.
2. Adding a Project Details View
Once you have selected the page in the Pages section of the Builder, proceed to add a Details view that will showcase information about the Project.
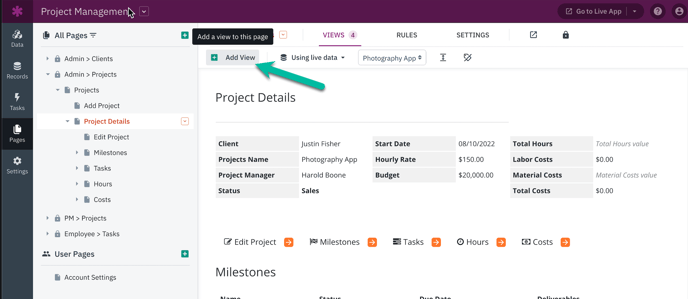
To add a Details view to the page, simply click on the "+ Add View" button and choose a Details view. In this case, we will be adding a Details view that displays information about a specific Project record.
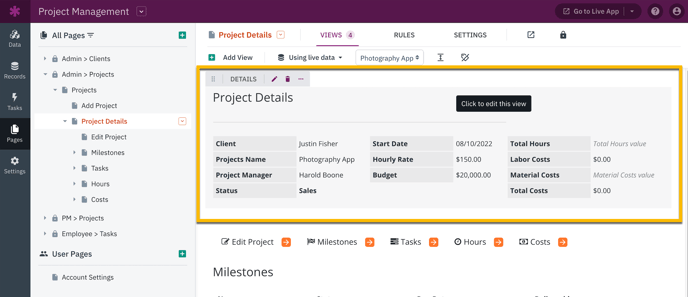
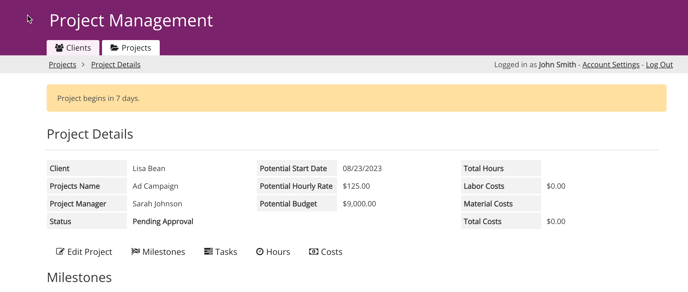
Your page will now contain the Project Details view:
Tip: You can learn more about using details views here.
3. Add a Page Rule to Display a Message Based on a Date/Time Field
Next, we will proceed to add a Page Rule after setting up the page and details view in the Pages section of your Builder.
Where to Add a Page Rule
To add a Page Rule, go to the Rules tab in the top navigation of the Builder while you are on your Project details page. Click on "Add rule" to proceed.

4. Properties for Page Rules
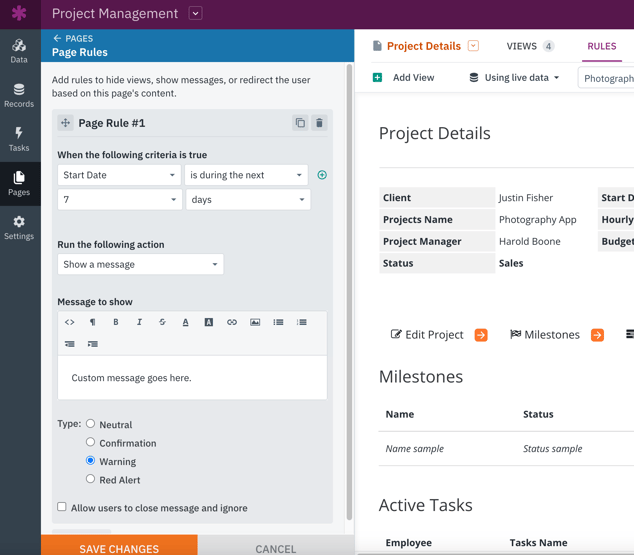
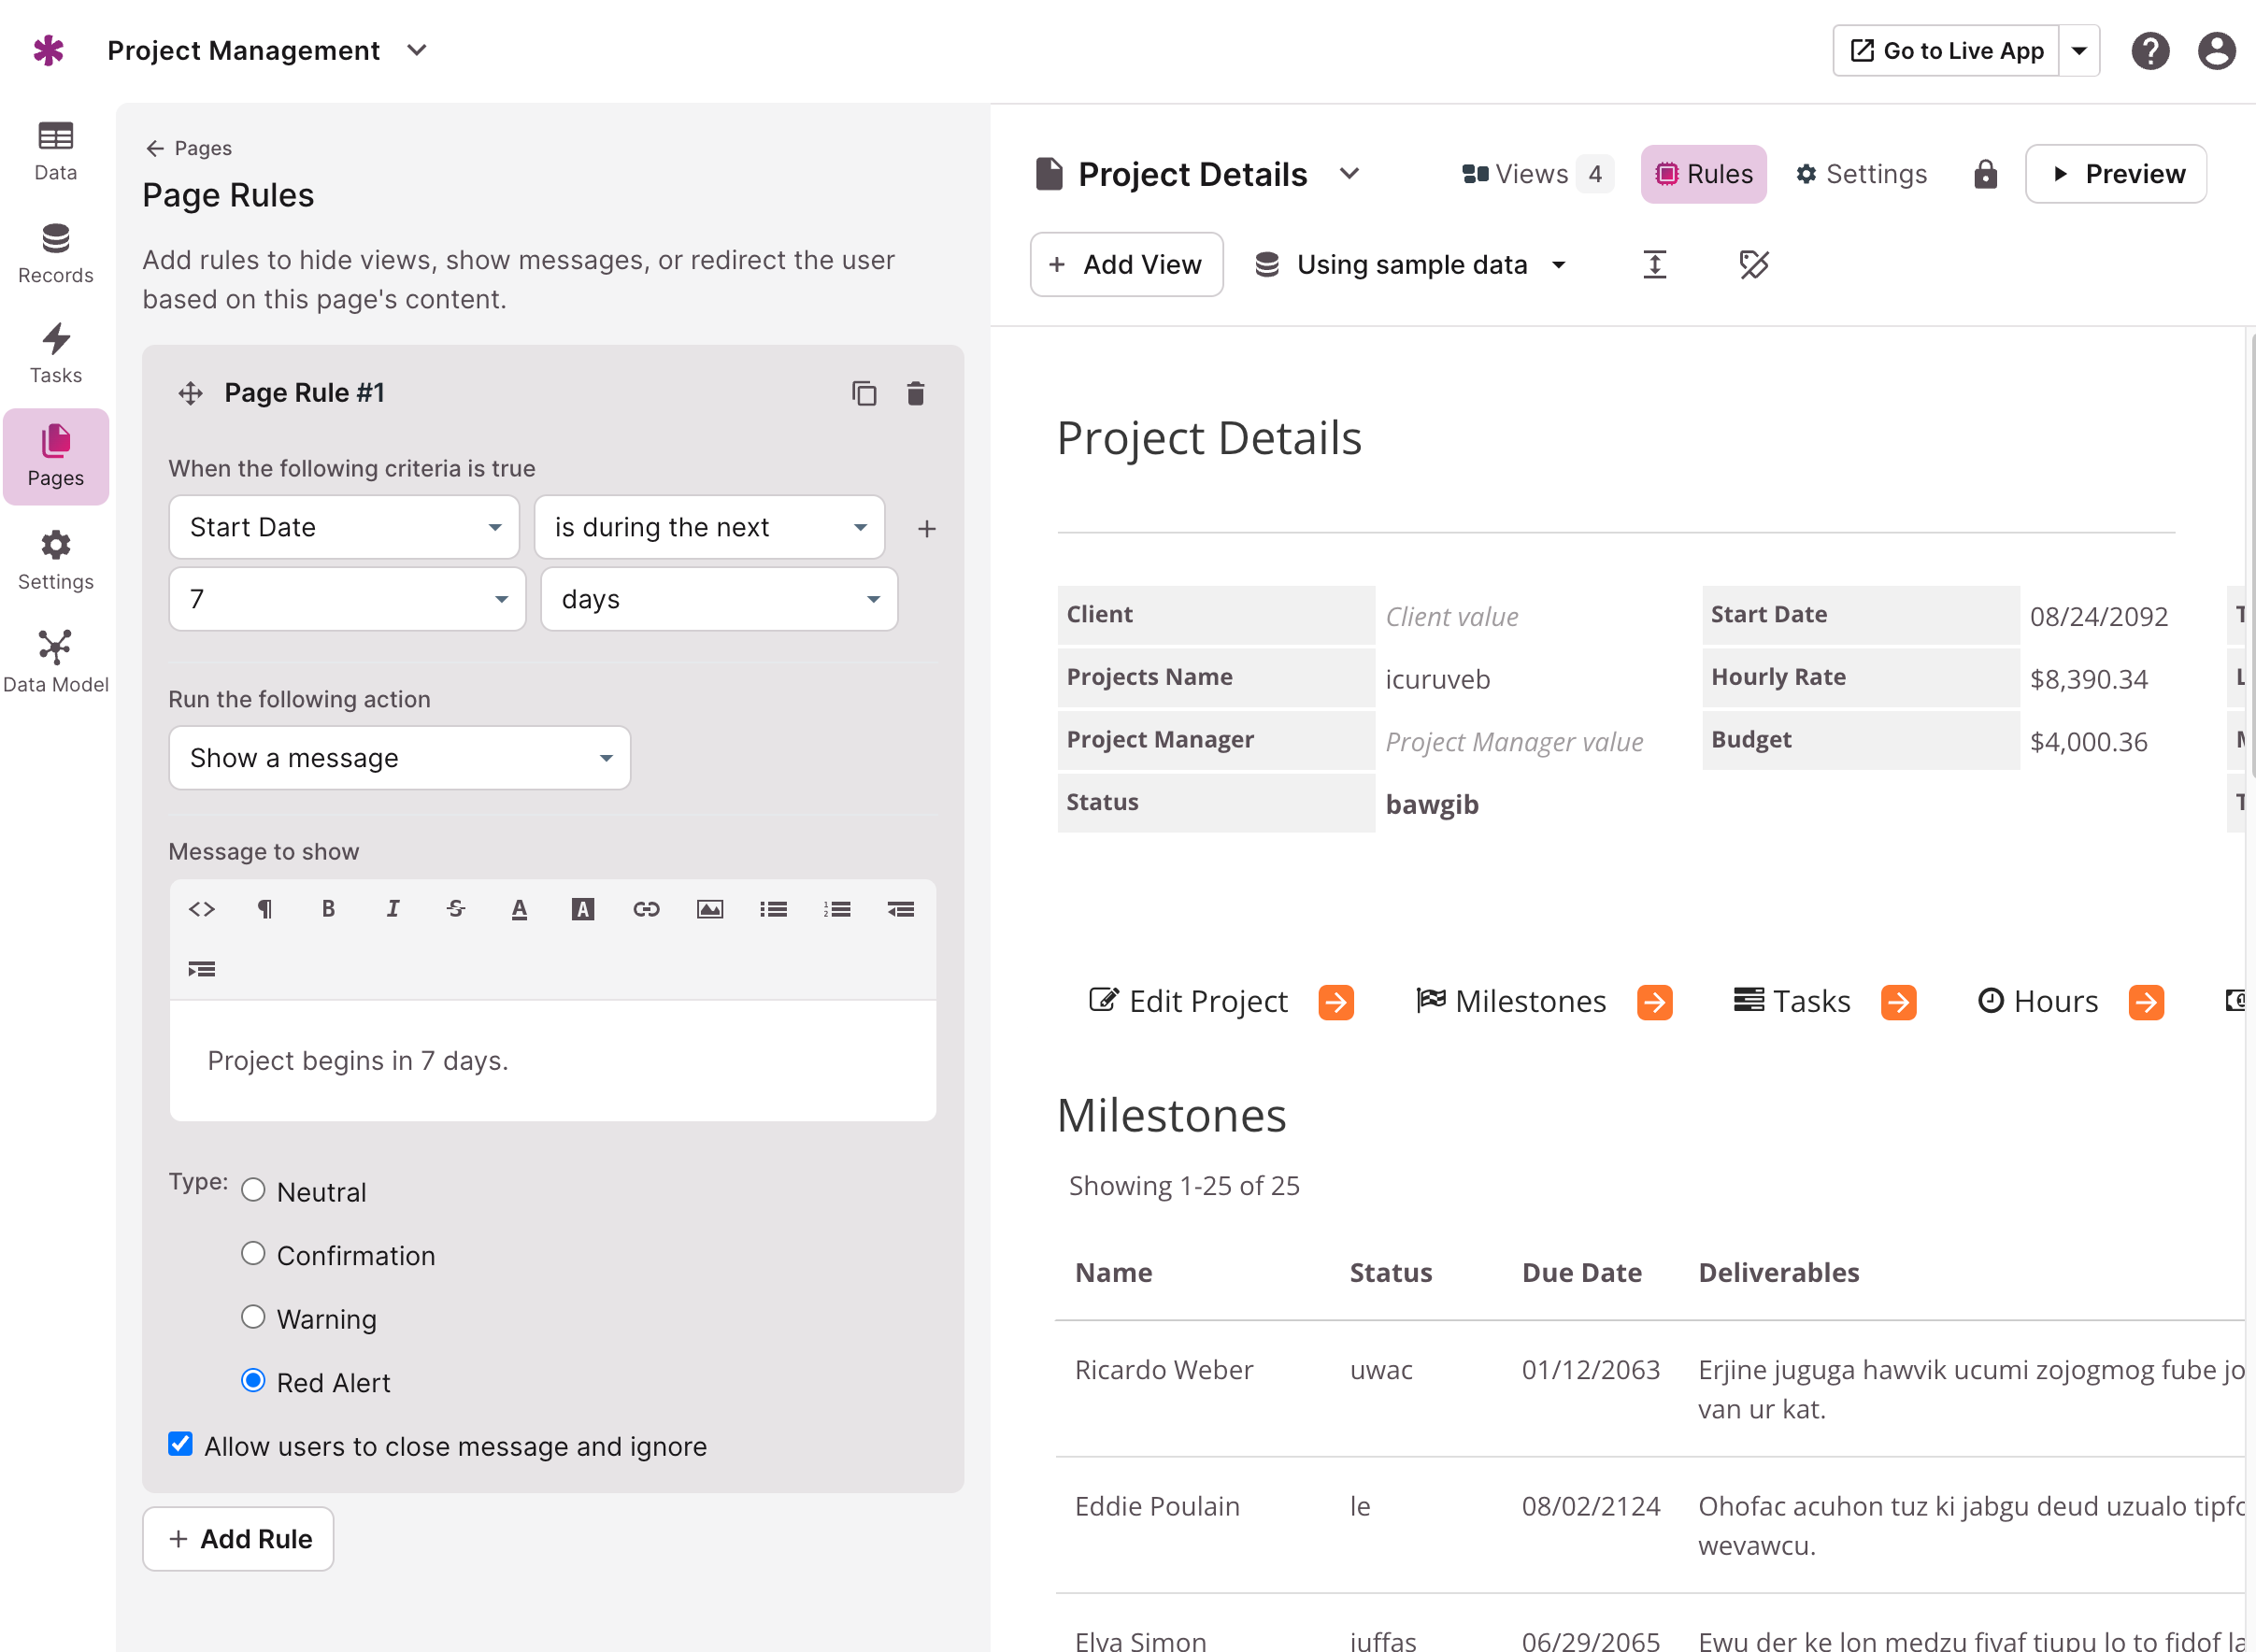
Once you click on "Add rule", a set of properties will be displayed for you to fill in. This is where you can specify what your Live App should display based on a record value.
The page rule should have the following properties:
- When the following criteria is true: Start date is during the next 7 days
- Run the following action: Show a message
- Message to show: Add a custom message
- Type: Set type to Warning
Tip: You can learn more about adding and managing page rules here.
5. Login & Test
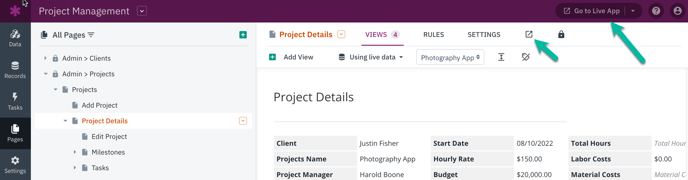
Once you have configured your page to show a message, you can preview the page in your Live App. While viewing the page in the Pages section of the Builder, click the open icon or the "Go to Live App" button.
This will open your Live App in a new window:
If the start date of this record is during the next 7 days, your message will appear at the top of your Details view in the Live App:
Optional Features
To enhance your project details, you have the option to include additional rules that will showcase different messages depending on the proximity of the deadline.
To add another rule, click on the "+ Add Rule" button. Then, define the parameters to reflect the desired behavior for this rule.
As an option, you have the ability to add an alert message that includes bold formatted text. Additionally, you can provide the user with the option to close or ignore the message by checking a designated box.
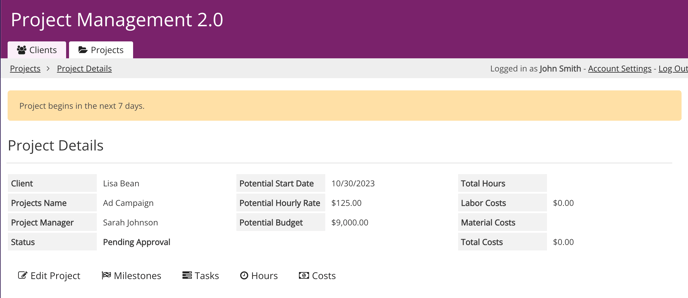
In your Live App, you will see that if the start date is during the next 7 days, your alert message should appear at the top of your Details view:
Tip: Learn more about how Page Rules can enhance your app's functionality.