Use Case
It’s great to have a map that displays multiple locations that your users can search through. But what happens once they click on a location to see more information?
They’ll get a details page that looks something like this:
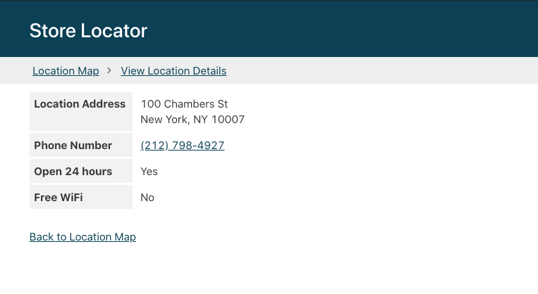
While it’s helpful to see more details, your users no longer have a map. If they want to see their selected location mapped, they need to click back to the previous page and do a search for that location.
That’s a lot of extra steps for your users, so why not just add a map to the details?
Requirements
You will need an Address field in your table in order to display a map in a Details view.
Geolocation and maps are available on the Pro plan and above.
If this is your first time creating an app, you'll need to know some basics about adding tables, fields, pages, and views. You can start by reading our Builder Basics section.
Other good resources can be found in our About Your Database and Working With Pages sections of the knowledge base.
Steps
Select or Create a Page With a Details View
In the Pages section of the builder, select the page with the location details view or create a new details page.
Open the Details View's Editor
Click on the details view on that page to open the editor.
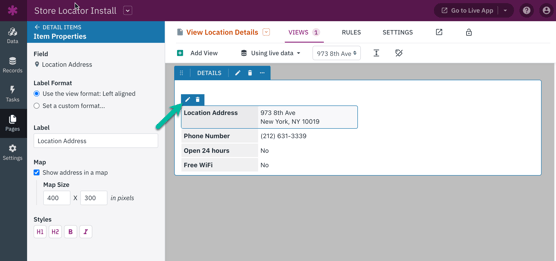
Edit the Address Field
Hover over the address input field and click the edit “pencil” icon:
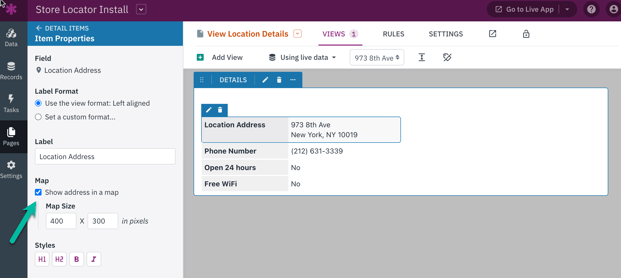
Check the Map Option Checkbox
In the address field's settings, check the box next to the Map option to show a map. Once enabled, you’ll have the option to customize the size of the map displayed:
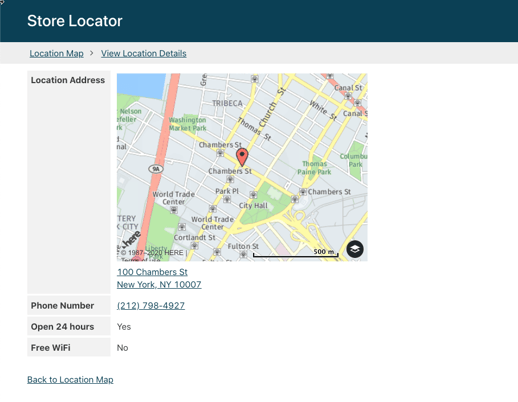
That’s it! Now, when a user views the details for a location, they’ll see that location on a map:
Notes & Troubleshooting
If you're not seeing the Map option on your field, make sure that the field is set as an Address type field.