Use Case
This article will walk you through the steps to create a Map Directory like our Store Locator sample app. Store locators are the best way to let your customers find your different locations, get directions, and review any details about each location.
Requirements
If this is your first time creating an app, it is helpful to have some knowledge about adding tables, fields, pages, and views. You can begin by familiarizing yourself with the Builder Basics section of our Knowledge Base, where you will find valuable information to get started.
Other good resources can be found in our About Your Database and Working With Pages sections of the knowledge base.
Steps
-
First, we'll create the Locations table.
-
Then, we'll add Locations records to the table.
-
Lastly, we'll add a Map view to a page to display Locations records.
1. Create Your Locations Table
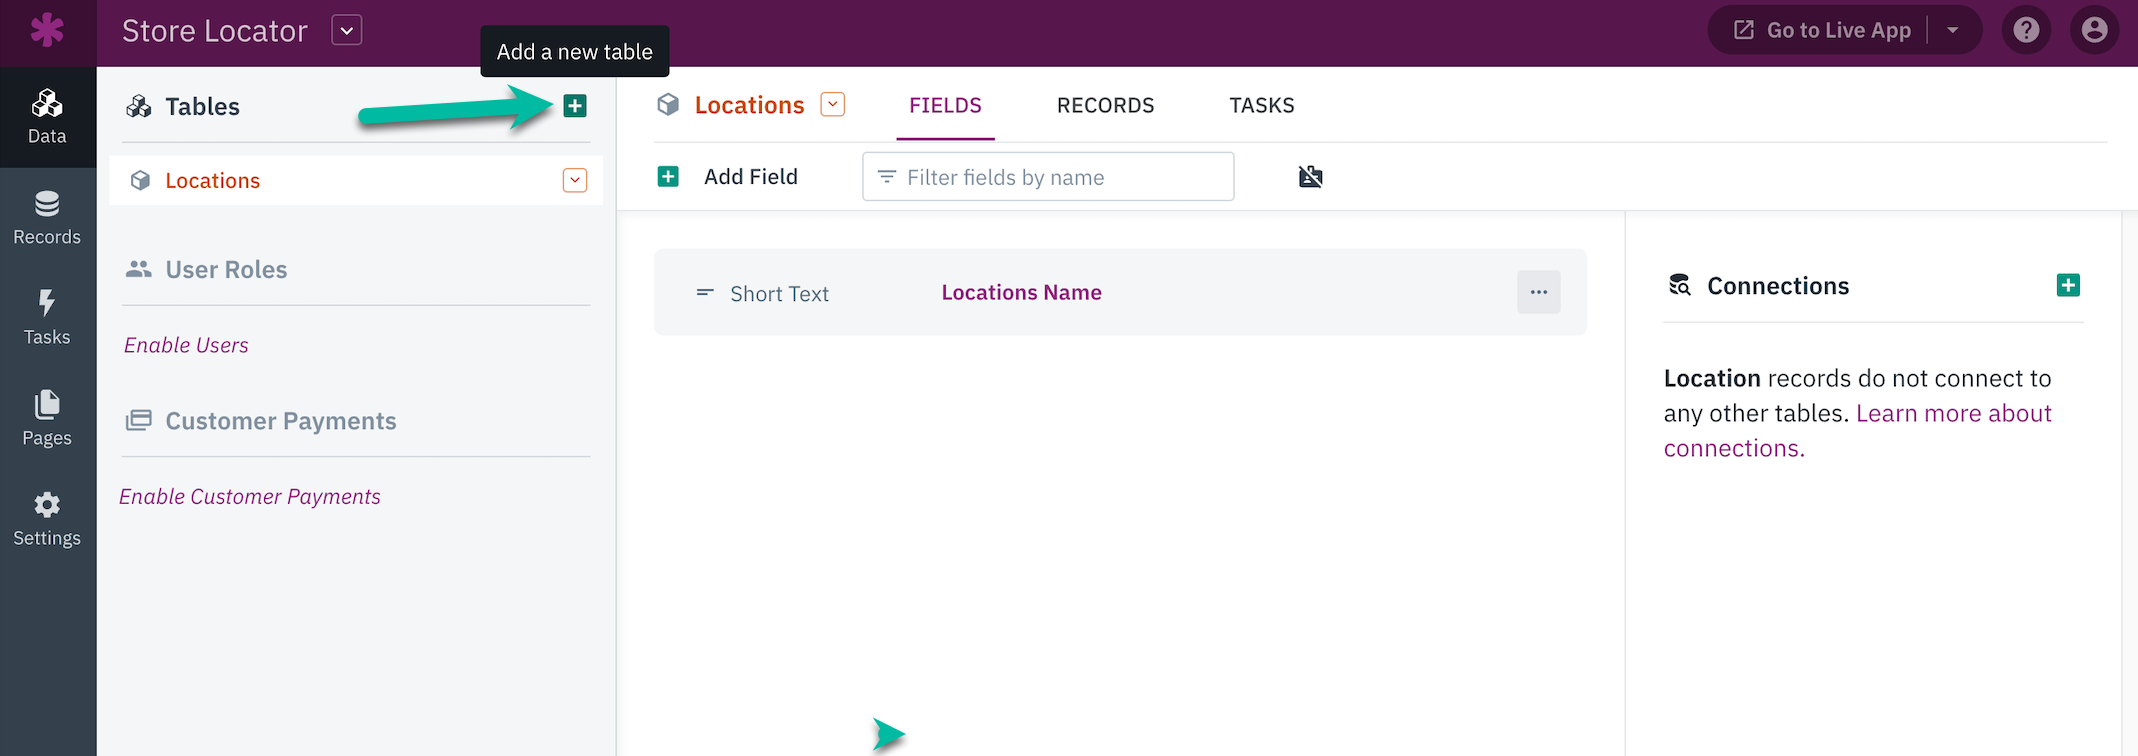
In order to store our Location records, we will need a new Locations table in the app. In the Data section of the Builder, select the "+" button to add a new table.
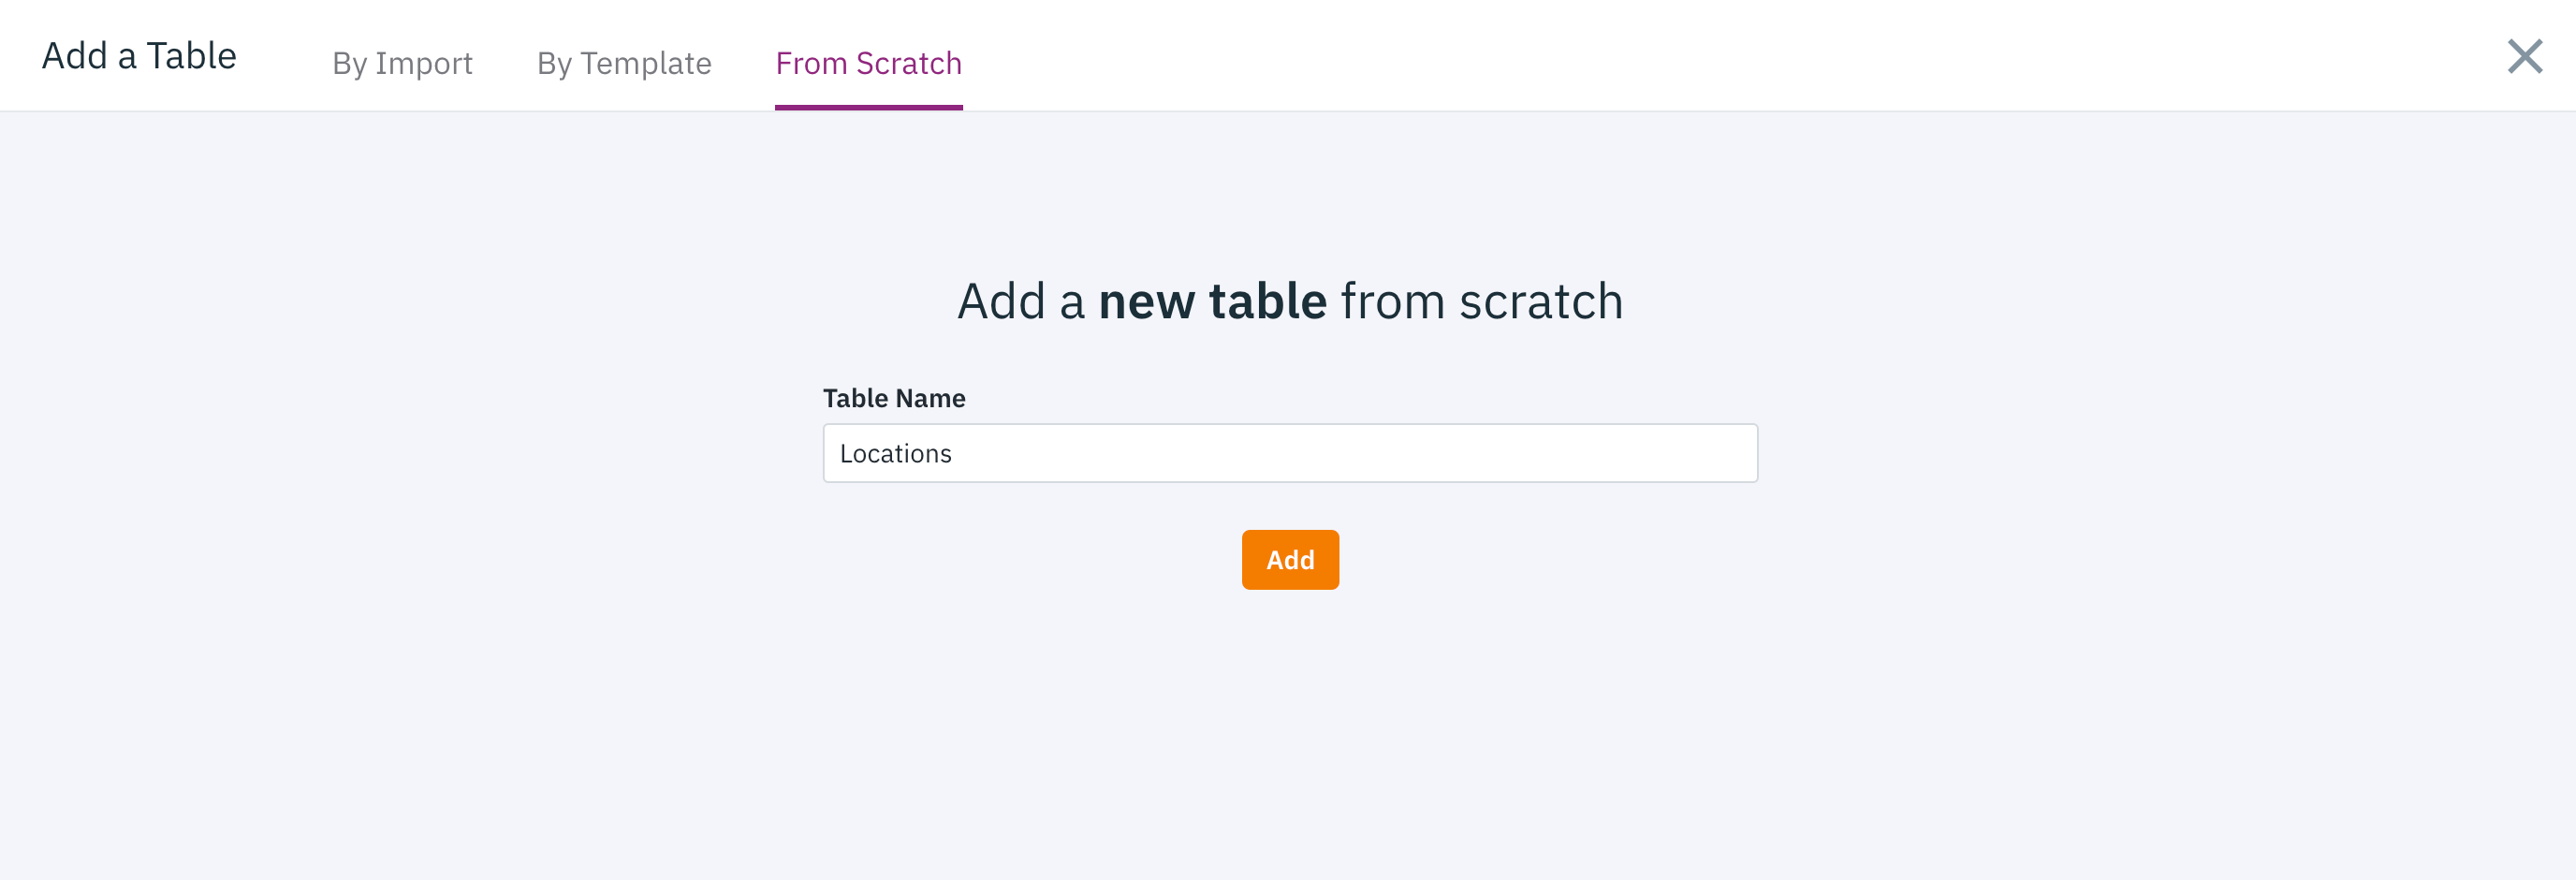
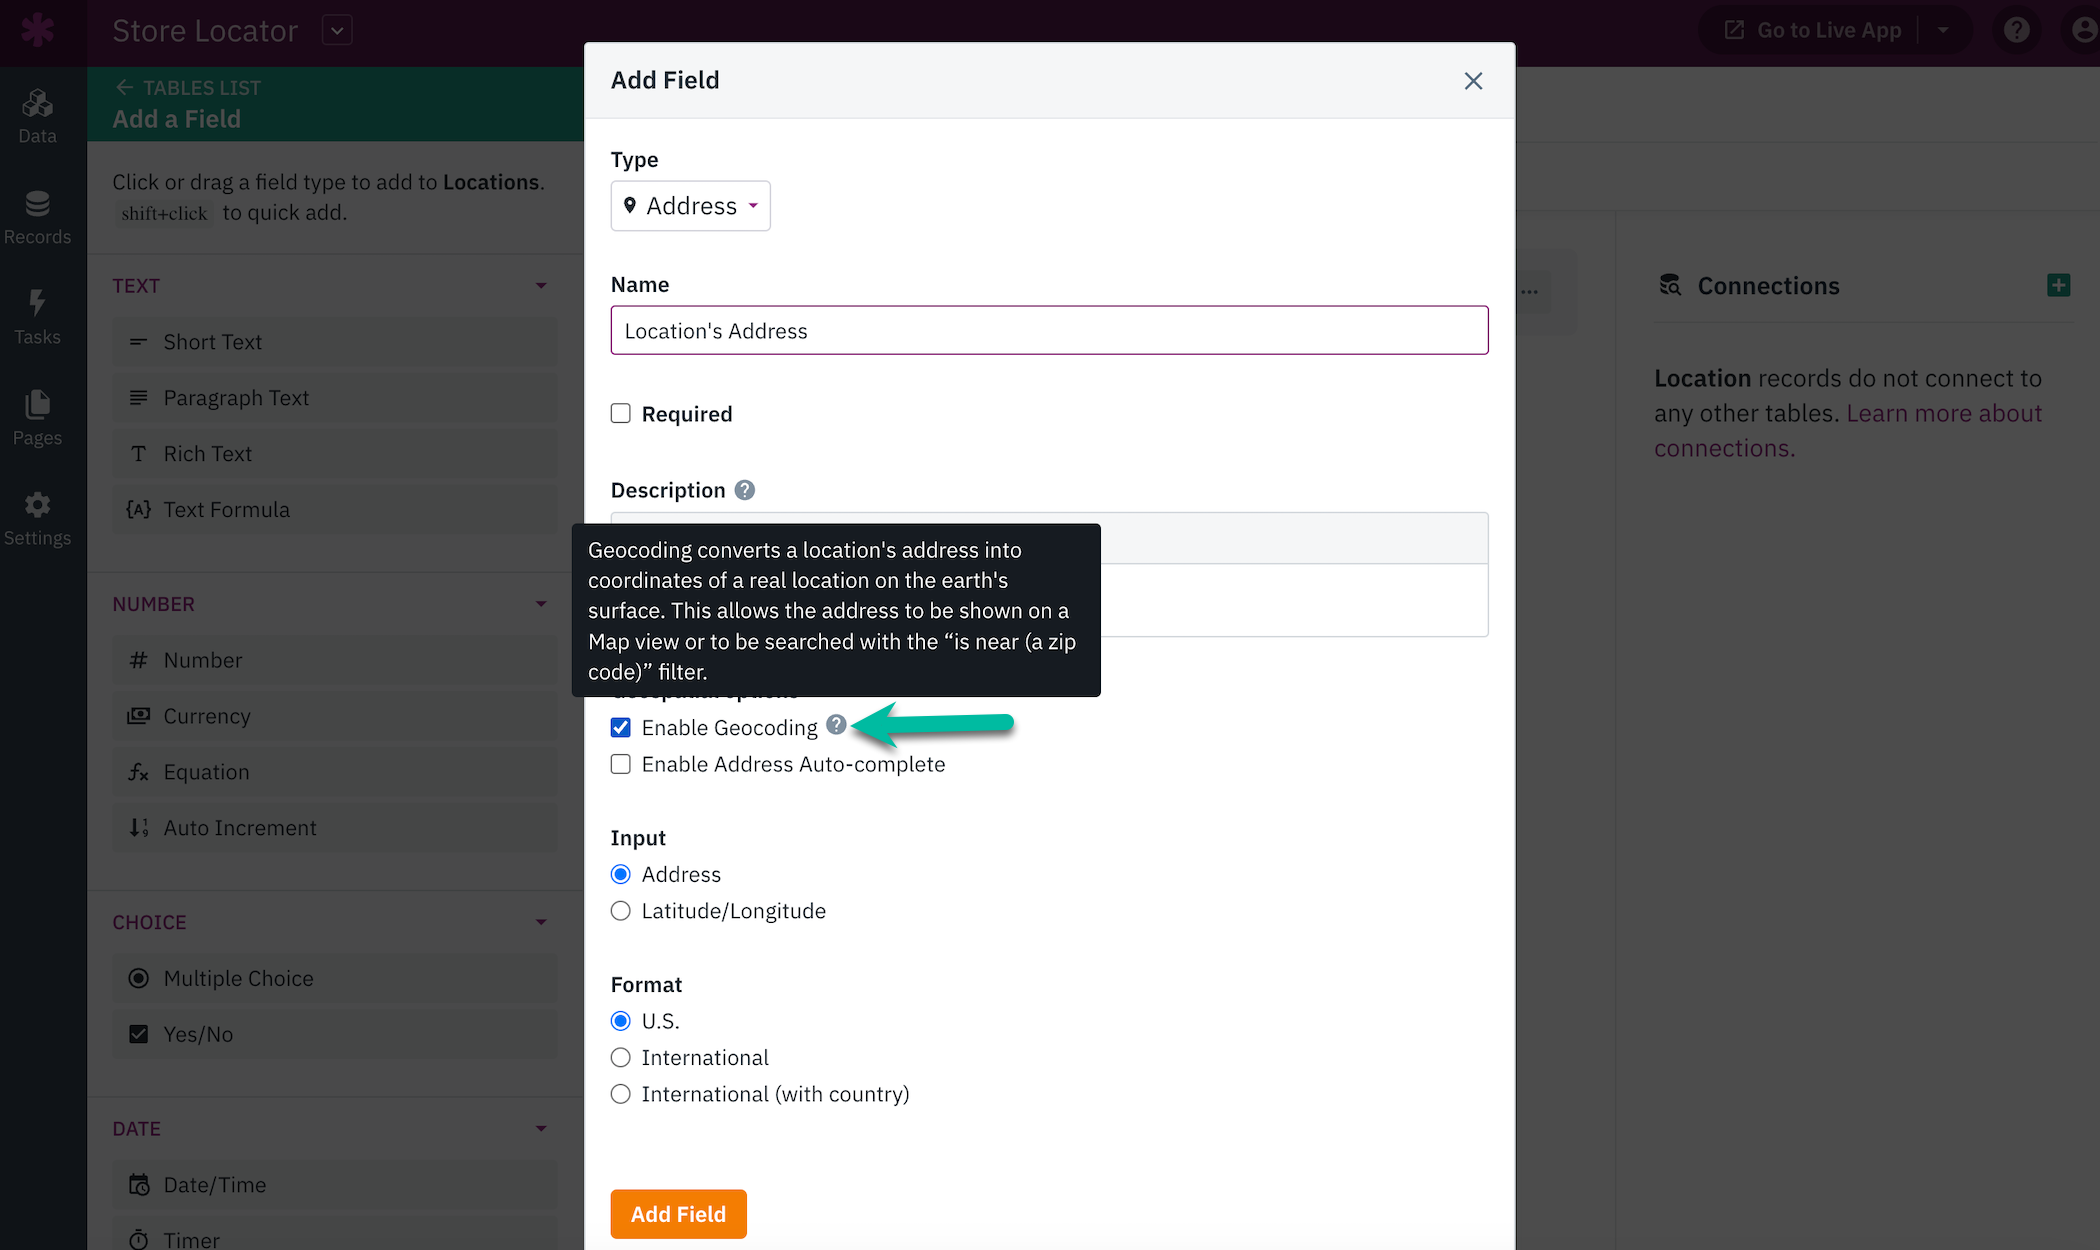
In this scenario, we will name this table "Locations" and keep the default field created automatically for the location's name. Next, we'll add an Address field for the location's address.
To enable the address to be displayed on a map view, make sure to check the "Enable Geocoding" box when adding the address field to the Location's table:
2. Add Location Records
Once you have created your Locations table, you have two options for adding new records to your app. You can choose to manually add them one at a time, or you can import data to add multiple records simultaneously.
Manually Add Records to your Database
To add records to your Stores table, navigate to the Records section of the Builder and click the "+ Add Record" button in the top navigation.
Each new store record added will appear in the Records section of the Builder when viewing the Locations table.
Tip: You can learn more on adding and managing records here.
Import Location Records From a Spreadsheet
You can quickly and easily bulk-import new store location records using a .csv file. You can learn more about formatting your CSV file here.
Note: The spreadsheet must contain your address data in separate columns. Example: Street, City, State, and Zip Code will each need to have a separate column. During the import setup, you will assign each column to the Address Field type in your Stores table.
To import your records, click the "Import" option while viewing your Locations table in the Records section of the Builder.
Tip: You can learn more on importing records here.
Add a Map View to Display Location Records
Once you have your Locations table set up with at least one record, you can now add a map view to display those Location records in the Live App.
There are two ways you can add a map view. You can use the “new page” wizard to set up a new map page. You may also add a map view to an existing page. If you have no pages, you'll default to add a new page:
Add Map View With a New Page
In the Pages section of the Builder, click the "+" button, then select the "Public Page" option to add a new page. This will add a new page that is visible to anyone with the URL.
If you would like to password-protect your page, you can read more about using logins here.
Next, you will be prompted to name your page and select which view to add to your new page. In this scenario, we will add a map view to the page.
Tip: You can read more on using map views here.
Add a Map View to an Existing Page
If you already have a page you would like to add a map view to, select that page in the Pages section of the Builder. Then, click the "Add View" option.
From there, you will be able to select what type of view to add to your page. In this case, add a map view type and then choose the “Locations” table to display in the map view.
Login & Test
Now that you have set up your Locations table and added a map view to display those records, you can view this page in your Live App.
While viewing your page in the Pages section of the Builder, click the open icon or the "Go to Live App" button. This will open your Live App in a new window.
Notes
You can learn more about managing pages, views, and maps in the following articles: