This article covers the following topics:
Creating New Apps
To create a new app, log in to the Knack Dashboard at dashboard.knack.com and select the Apps tab on the left menu. Then, select the "Create New App" button.
/Managing%20Your%20Apps/managingyourapps1.png?hsLang=en)
You can create a new app by importing data, starting from scratch, starting with AI, or using a sample app.
/Managing%20Your%20Apps/managingyourapps2.png?hsLang=en)
From Scratch
When you select "Import data" or "Start from scratch", we will auto-generate the app's name and Live App URL. Both of these can be edited in the App Settings if you wish.
You will be redirected to the Builder after selecting "Create New App". Once you're in the Builder, you will also be able to inline edit the name of your app here:
/Managing%20Your%20Apps/managingyourapps3.gif?width=688&height=371&name=managingyourapps3.gif)
Template Apps
When you select "Start from template app", you can search through our repository of template apps inspired by our most successful Knack builders.
/Managing%20Your%20Apps/mangingyourapps4.gif?hsLang=en)
After selecting "Create App", we'll build out the tables, include some example data, and Live App pages.
Tip: Template apps are a great way to learn how specific apps are built. However, we highly encourage you to use these as examples while you build your app from scratch.
This will create a deeper understanding of how your app works and make it easier to customize and manage in the long run.
You can view all of our template apps here.
Duplicating Apps
You can duplicate any app you own on the Knack Dashboard. Some users wish to copy their apps, either to repurpose the app, transfer the app to another account, or keep a copy as a backup.
Duplicating Apps in Your Account
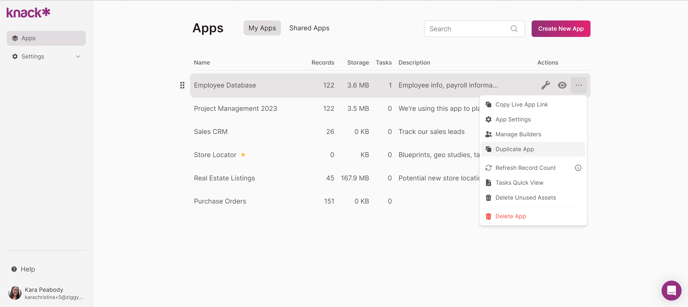
To duplicate your app, navigate to the Knack Dashboard and select the "More Options" icon on the app you would like to duplicate.
Then, select "Duplicate App" from the dropdown options.
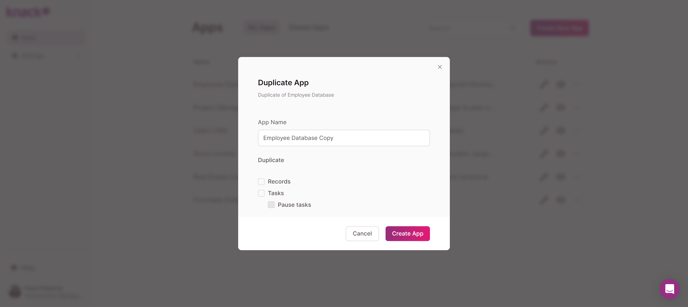
Next, this will open a popup modal where you can name your new app and select options.
-
App Name: This is the name for the new app.
-
Records: This will duplicate all records in the app along with the app structure.
-
Tasks: This will duplicate all tasks in the app along with the app structure. Tasks are available on the Pro plan and above.
Once you have named your app and chosen what you would like to duplicate, select "Create App" to start the process.
Tip: You may choose to pause tasks in the new app. This is helpful if you are creating a backup of an app, but do not want your tasks live.
You can open each task individually to update their status later.
Note: If you've selected to duplicate records, it will take some time before all records appear. We'll send you an email upon completion in this case.
Duplicating to Another Account
To copy an app to another account, you will need to submit a copy request to our support team by emailing support@knack.com.
See our article here for more information on this process.
Sharing Apps with Shared Builders
You can add Shared Builders to your apps which will allow others to edit your app. They will be able to fully edit the app you share with them, including adding, editing, and deleting elements from both the Data and Pages sections of the Builder.
Tip: You can read about adding shared builders here.
Records & Storage
When viewing your apps from the Dashboard, you can see the record count and storage used for each app in the "More Options" section.
Records: This total represents all of the records stored by each table in your app.
Storage: This total represents the size of everything that has been uploaded to your app.
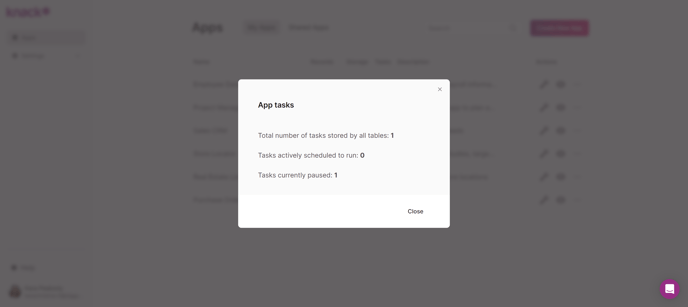
Tasks Quick View: Clicking "Tasks Quick View" will show you the total number of tasks, scheduled and paused, in your app.
Note: To reduce record storage, you can delete records or delete files/images by doing a batch delete/batch update directly in the Builder. If deleting records hasn't reduced your storage usage, contact support for assistance by submitting this form.
Refresh Record Count
It may take some time for the record count to update. Force a count refresh by selecting "Refresh Record Count" from the ellipsis dropdown menu.
/Managing%20Your%20Apps/managingyourapps7.gif?width=688&height=372&name=managingyourapps7.gif)
Deleting Apps
To delete an app, navigate to the Knack Dashboard and select the ellipsis icon on the app you would like to delete. Then, select "Delete" from the dropdown options.
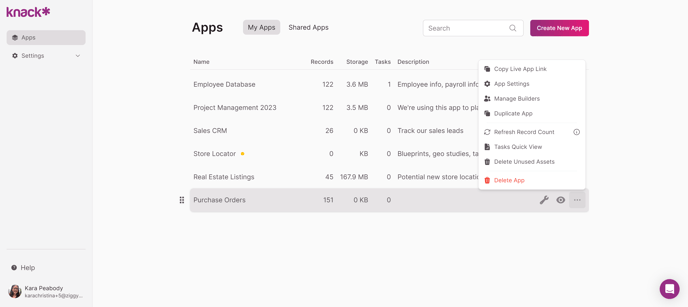
Clicking "Delete App" will open a confirmation modal. If you wish to continue, type in the app name to confirm and select the "Delete App" button, and your app will be deleted.
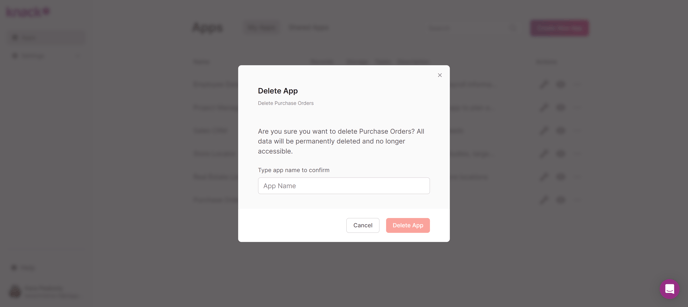
Caution: This can not be undone. This entire application, including all data, will be permanently deleted and no longer accessible.
App Settings
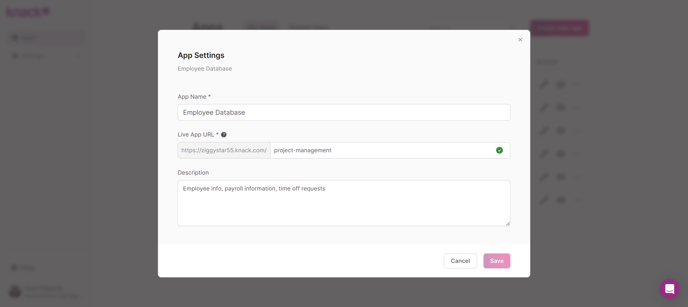
You can edit your App Settings in either the Dashboard or the Builder. Basic settings can be edited from the Dashboard by selecting "App Settings" under More Options.
This will open a modal popup where you can edit the App Name, App URL, and Description.
To edit the complete list of App Settings, click to open the Builder from the Dashboard.

Once in the Knack Builder, select the "Settings" section from the left menu, and there you will be in the app settings.
/Managing%20Your%20Apps/mangingyourapps5.png?hsLang=en)
Settings
In the App Settings > Settings tab, you can edit the settings for the individual app:
-
App Name: This is the name of your app which will appear in the app header.
-
App URL and App Slug: This is the text that will appear in the URL when viewing the app. The text after the "/" is known as your 'app slug'. In the above example, "freelance-project-management" is your app slug.
-
App Email Address: This is the primary email used for this app, which will be the "from" email the app will use when sending emails. This email address is used for any email or automation that sets a from address, such as:
-
Email rules
-
For Email Rules, this can be overwritten by adding a different From address in the rule.
-
-
Password reset emails
-
New user signups that require approval
-
Notifications to the customer about issues in the app (ex. email send failure)
-
-
Timezone: The timezone the app will use for fields using date and time values.
-
Daylight Savings: This will enable/disable daylight savings for the fields using date values.
-
Language: The default language for the app.
Security
In the App Settings > Security tab, you can edit the security settings for the individual app:
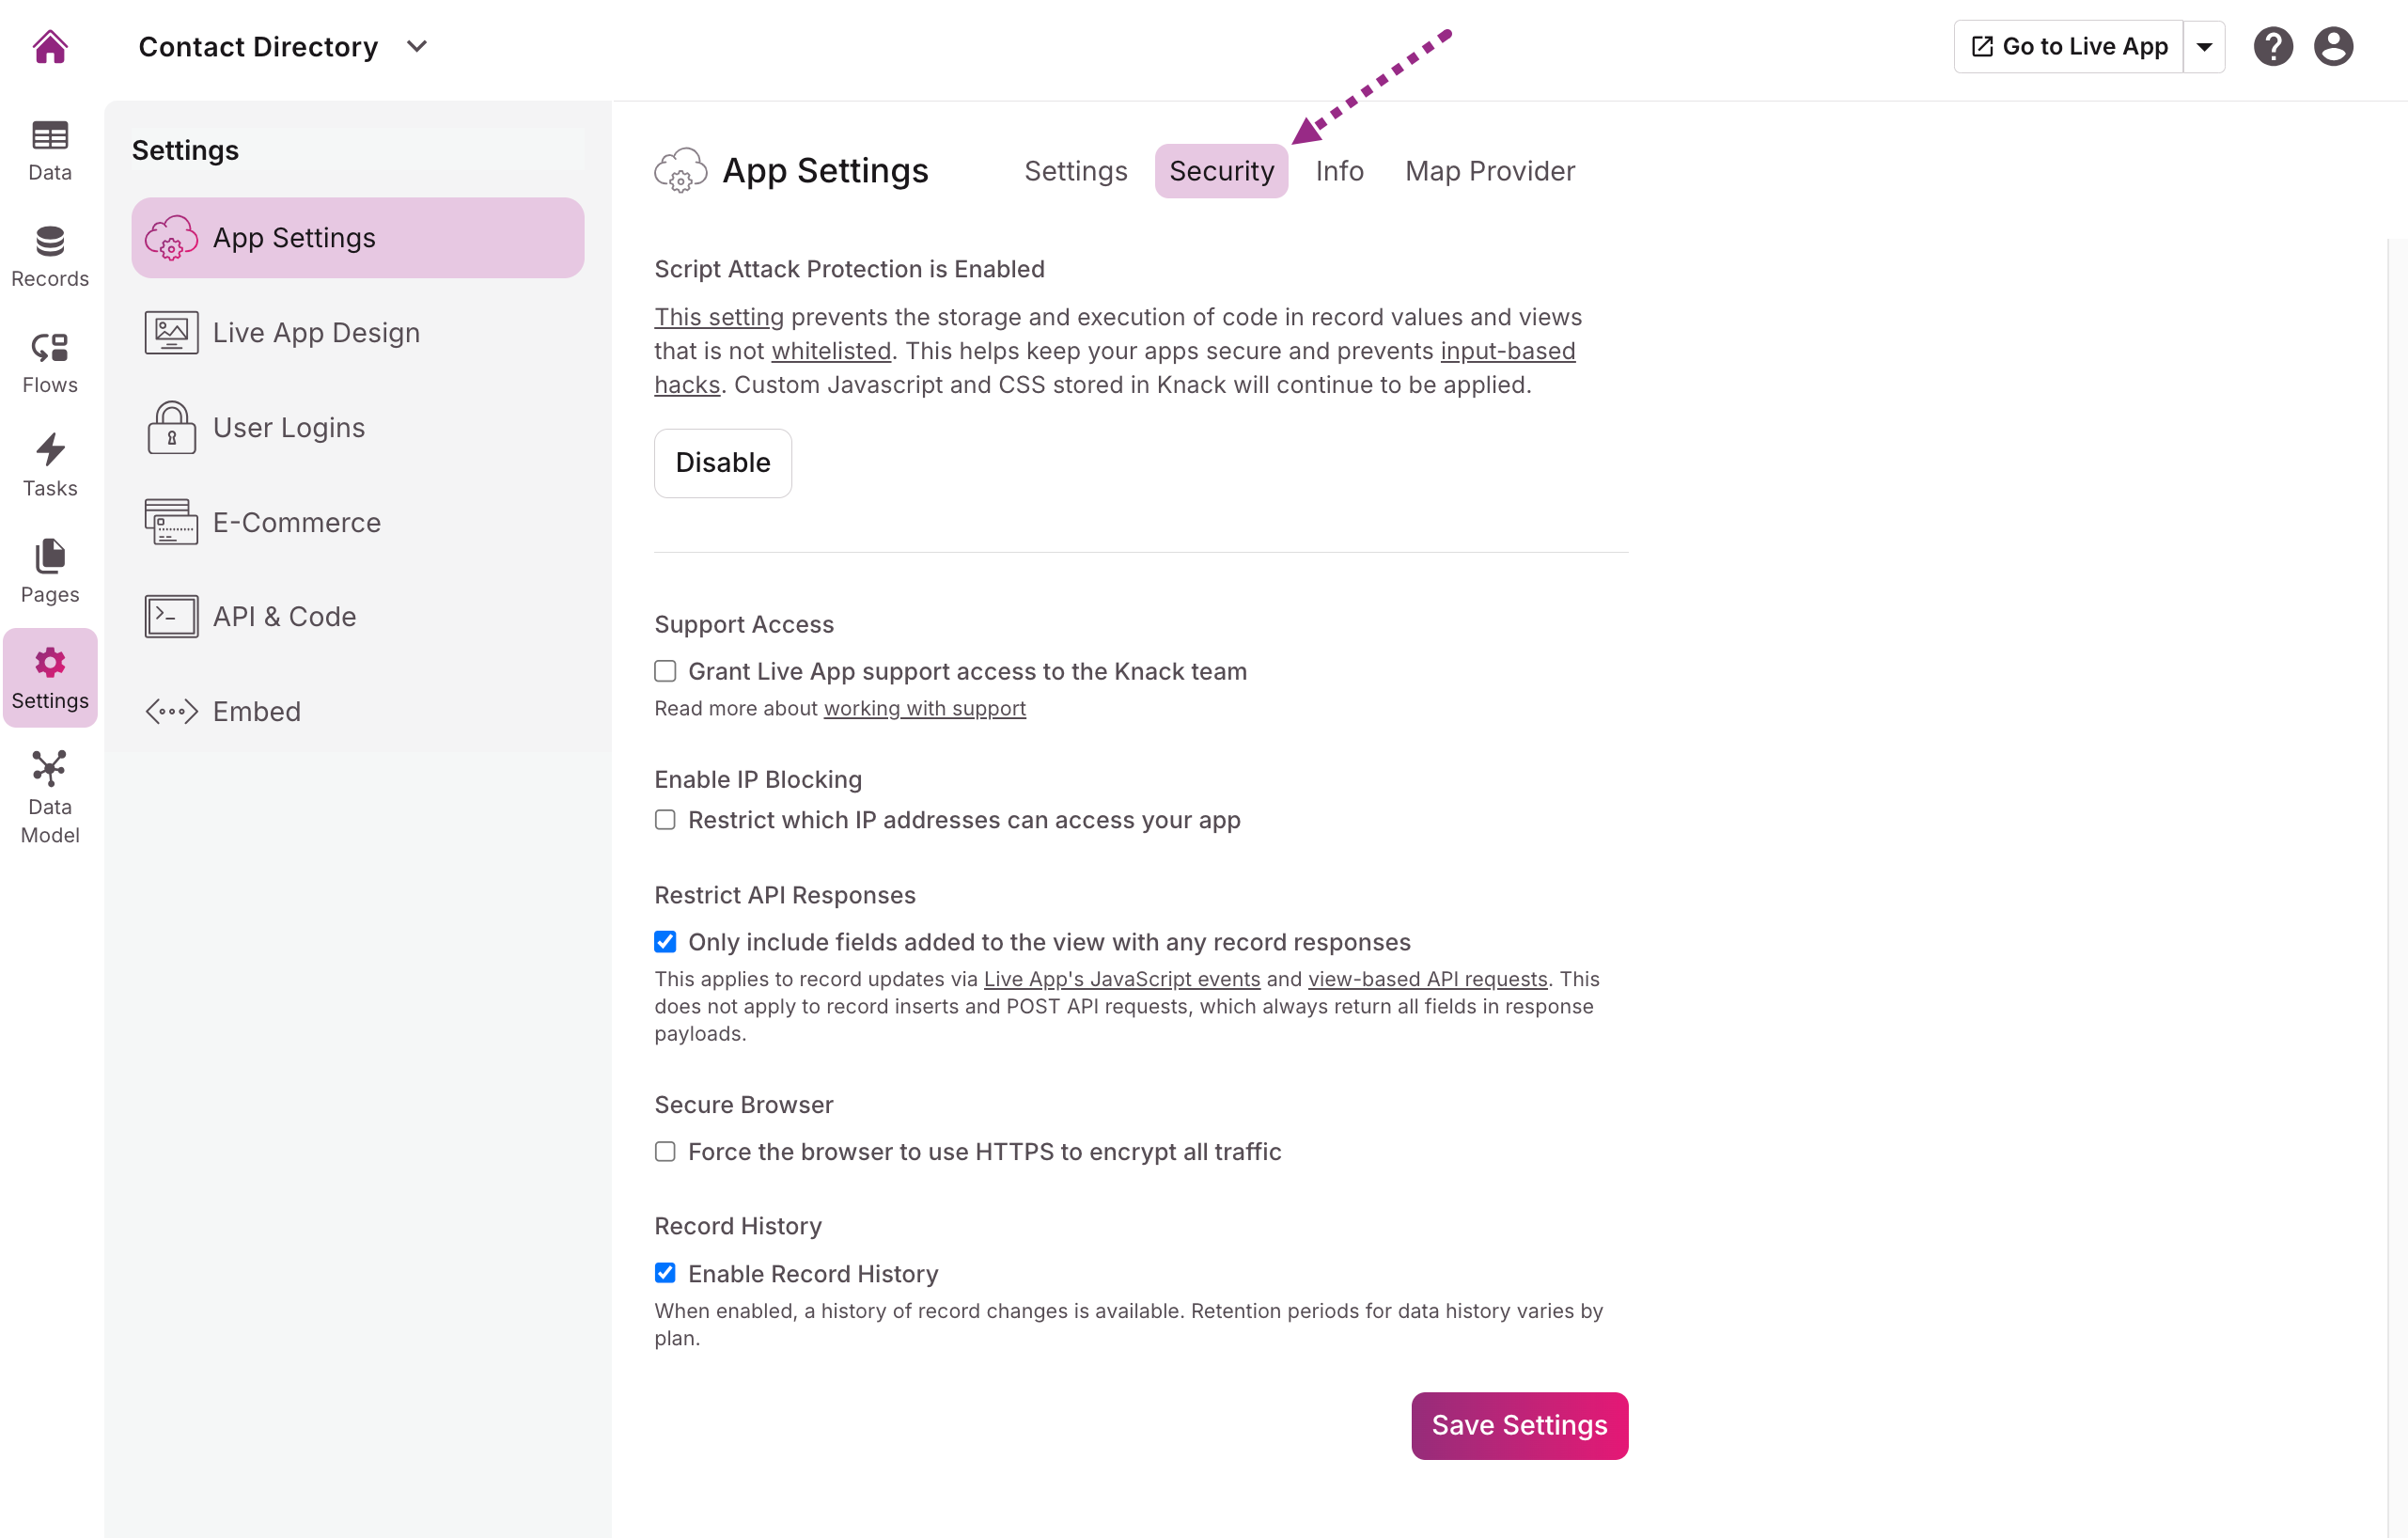
Script Attack Protection: This setting prevents the storage and execution of specific custom code, that is not whitelisted, in record values and views on record creation or update. This helps keep your apps secure and prevents input-based hacks.
Tip: The locations where Script Attack Protection is applied can be found here.
Once enabled, code that is not on our whitelist will be prevented from saving in field values. Other values submitted will be saved as normal.
There is not a warning when this sanitization will occur on form submit, either in the Live App or Builder - the values are simply not saved.
Examples:
-
<script src="google.com">Hello world!</script>
Saves as having no value.
-
Why? The <script></script> tag is code that is not on our whitelist.
-
-
<b onclick="alert('hello')">Hello world!</b>Saves as <b>Hello world!</b>
-
Why? The "onclick" portion is code that is not on our whitelist.
-
-
<b>Hello world!</b>
Saves as <b>Hello world!</b>-
Why? This HTML code is allowed.
-
-
Enable IP Blocking: If enabled, only IP addresses listed here will have access to the app. Leave blank to disable. This is available on Pro and above plans.
-
Secure Browser: With this setting enabled, if anyone accesses your Live App on
http://, they'll automatically redirect to thehttps://version.
Notes: Any custom Javascript and CSS in the "API & Code" section of your app will continue to be applied fully when this setting is enabled.
This setting is enabled automatically for new apps created after February, 25th, 2020. However, we recommend that all existing apps created prior to that date enable this feature immediately.
Info
In the App Settings > Info tab, you can find details for the individual app:
-
Data Location: The location of the server your app is hosted on.
-
HIPAA Compliant (US Only): Current HIPAA Compliance status of your app. If you're interested in becoming compliant, click the "become compliant" URL for more details.
-
Total Records: A snapshot of the total record count stored in your app.
-
Total Storage: A snapshot of the total asset storage used in your app.
Map Provider
Knack provides a map feature to display maps and geolocate address fields. This setting can be found on the App Settings > Map Provider page.
Tip: To learn about Knack's map views, see our article here.
Details for the settings and options available for maps and Address fields can be found in the App Settings: Map Provider article.
The loading of map views and geolocating address fields is included for Pro and above plans. You also have the option to utilize Google as your map provider by adding your API key details, which you can learn more about in the App Settings: Map Provider article.